
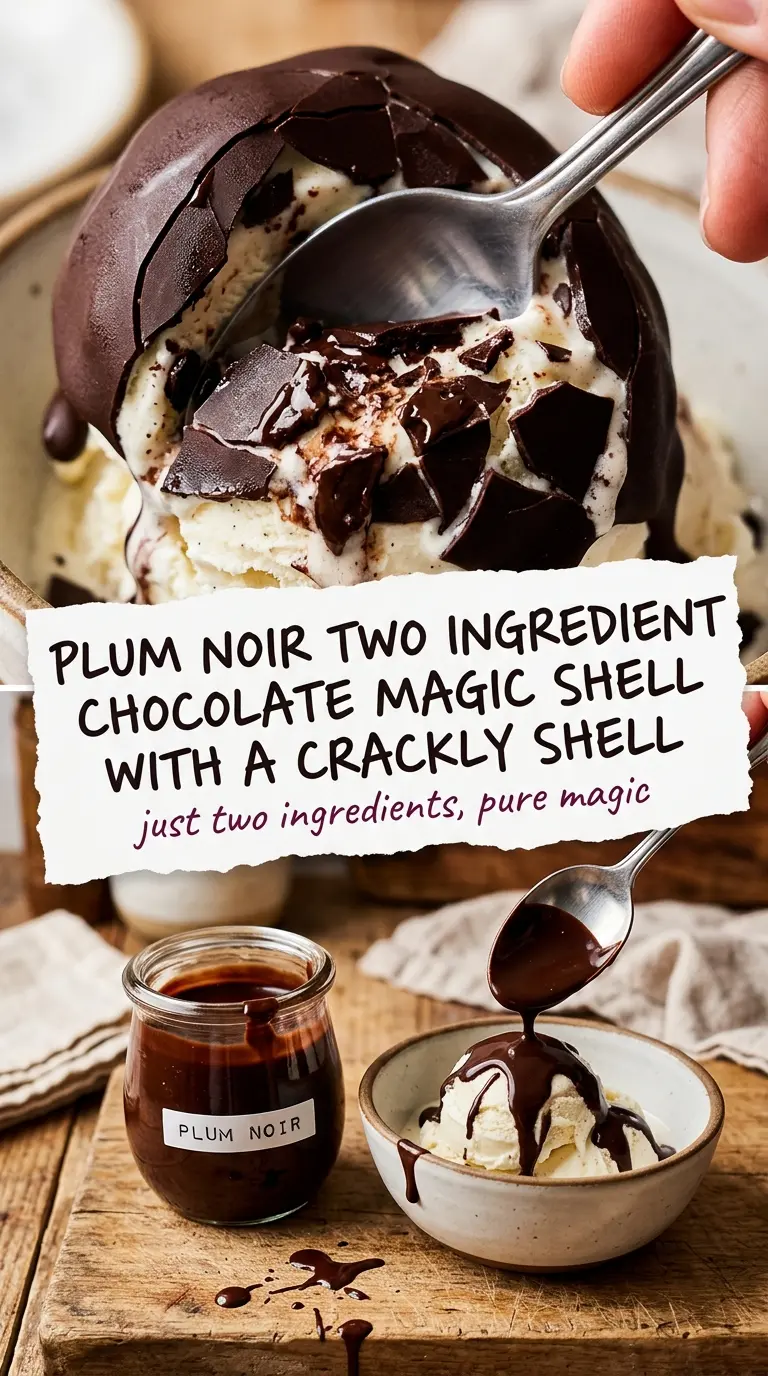
Melted chocolate turning into a crackly shell the second it hits cold ice cream never gets old, and this two-ingredient version does it with almost no effort. It pours smooth, sets fast, and gives you that thin, snappy chocolate layer that breaks cleanly with a spoon instead of sinking into the ice cream and disappearing.
The trick is the coconut oil. It thins the chocolate just enough to make a glossy sauce, then it firms back up when it meets anything cold. Use chocolate chips that melt well and stop heating as soon as the mixture looks smooth; overheating chocolate can make it stiff or grainy, which takes away that clean snap. Let it cool for a minute before pouring, because too-hot shell melts the top of the ice cream before it has a chance to harden.
Below, I’ve included the timing that matters, the small texture cue that tells you it’s ready, and a couple of ways to make it work whether you want a classic ice cream topping or a jar of shell ready for quick scoops all week.
The shell set up in seconds and stayed crisp even after sitting on the ice cream for a bit. I liked that the chocolate stayed glossy instead of turning dull and waxy.
Two-ingredient chocolate magic shell that hardens fast, stays glossy, and makes plain ice cream taste like a treat.
The One Mistake That Makes Magic Shell Go Thick and Gritty
Magic shell only works when the chocolate stays fluid long enough to coat the ice cream in a thin layer. If you overheat it, the chocolate can seize, the coconut oil can separate a little, and the topping loses that clean, even crackle. Short bursts in the microwave are the safest path here because chocolate keeps softening after you stir it.
The second trap is pouring it while it’s still too hot. Warm is good. Steaming hot is not. A brief cooldown gives you a glossy sauce that sits on the ice cream instead of melting a tunnel straight through it. Once it touches something frozen, the clock starts ticking fast, so have your scoops ready before you pour.
What Each Ingredient Is Actually Doing in This Dish
- Chocolate chips — Chips are convenient because they already contain stabilizers that help them melt smoothly. Use a brand you trust for melting; some bargain chips stay stubborn or grainy. Semi-sweet gives the classic result, but milk chocolate will taste sweeter and set a little softer.
- Coconut oil — This is what gives the sauce its pourable texture and fast-setting snap. Refined coconut oil has a more neutral flavor if you don’t want a coconut note. In a pinch, you can use another neutral oil, but the shell won’t harden quite as firmly.
How to Melt It Without Breaking the Chocolate
Combining the Base
Put the chocolate chips and coconut oil in a microwave-safe bowl and stir them together before heating. That little head start helps the oil coat the chocolate and keeps the first hot spots from scorching the edges. If your bowl is huge and shallow, the chocolate can overheat faster than you expect, so use something medium-sized and sturdy.
Heating in Short Bursts
Microwave for 20 seconds, stir well, then repeat until the mixture is mostly melted. The last few chips often disappear from residual heat after stirring, so don’t chase perfection with extra time in the microwave. If the chocolate starts looking thick or pasty, stop heating immediately and stir; more heat will make the texture worse, not better.
The Cooling Minute
Let the sauce sit for a minute or two before you pour it. It should feel warm and fluid, not hot enough to melt a scoop into soup. This is the point where the texture looks silky and pourable, which is exactly what you want for a shell that sets in a crisp layer instead of running off the sides.
Pouring Over Frozen Ice Cream
Spoon or drizzle it over cold ice cream and watch it set in about 30 to 60 seconds. The shell should look shiny at first, then turn matte in spots as it hardens. If it’s taking too long to set, the ice cream may not be cold enough or the topping may still be too warm.
What to Change When You Want a Different Kind of Shell
Dairy-Free and Naturally Gluten-Free
This recipe already fits both of those needs as written, which is part of why it’s so useful. Just check the chocolate chips if you’re being strict about gluten-free eating, since some brands are processed in shared facilities or include add-ins. Coconut oil keeps the shell firm without any dairy at all.
Sweeter, Milk-Chocolate Shell
Swap in milk chocolate chips for a softer, sweeter shell that kids usually love. The topping will still harden, but it won’t snap quite as aggressively as dark chocolate. Because milk chocolate is more delicate, keep the microwave bursts short so it doesn’t scorch.
Salted Chocolate Finish
A pinch of flaky sea salt over the shell before it hardens gives you a sharper chocolate taste and a little crunch on top. Do it right away so the salt sticks while the surface is still glossy. This works best on vanilla, coffee, or caramel ice cream where the contrast shows up clearly.
Storage and Reheating
- Refrigerator: It will harden in the fridge, so don’t store it there unless you plan to rewarm it.
- Freezer: Freezing isn’t useful for the shell itself, but it’s perfect once it’s on ice cream.
- Reheating: Keep extra shell in a jar at room temperature, then warm it briefly in the microwave if it firms up. Stir after each short burst so it returns to a smooth pour without overheating.
Questions I Get Asked About This Recipe
Two Ingredient Chocolate Magic Shell
Ingredients
Equipment
Method
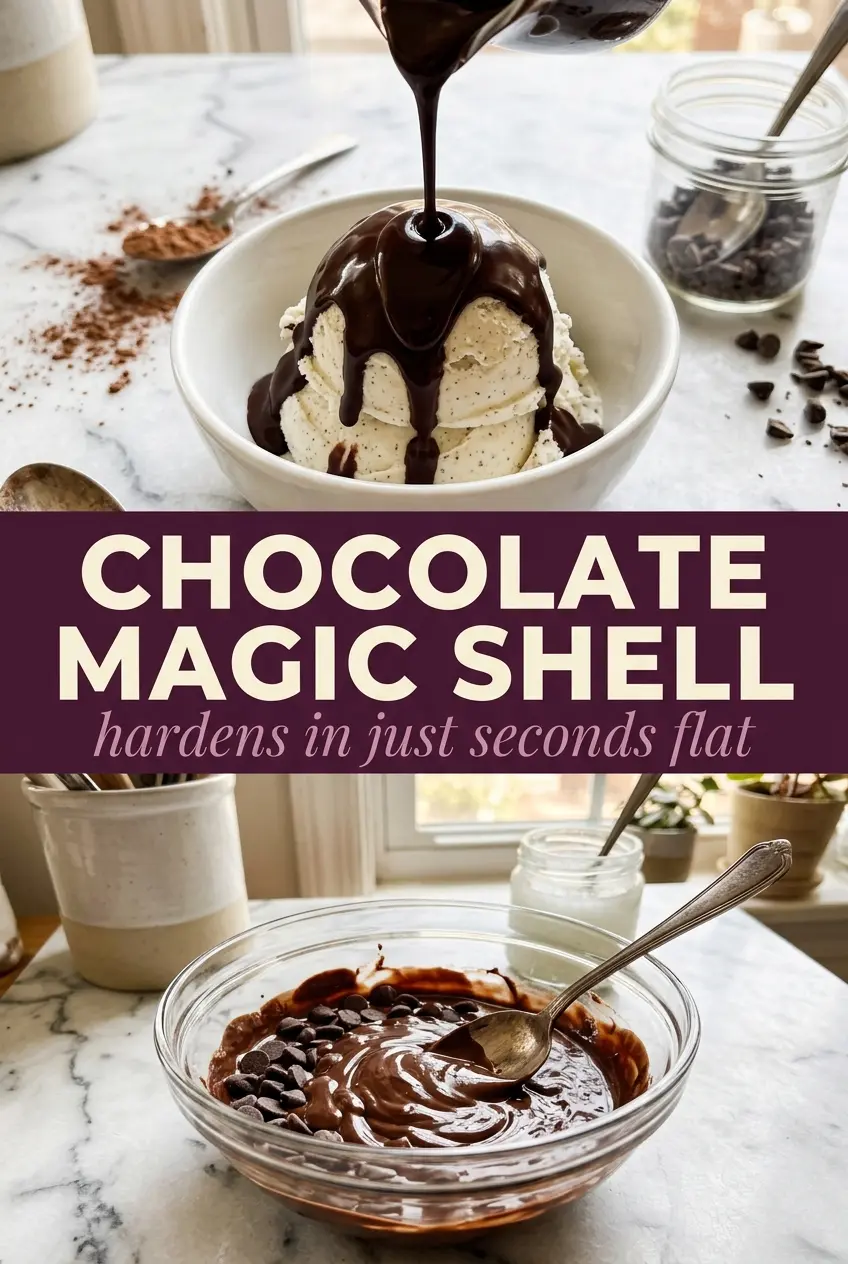
- Add the chocolate chips and coconut oil to a microwave-safe bowl and stir to combine, then microwave on high in 20-second bursts, stirring between each burst, until fully melted and smooth. Stop when the mixture looks glossy with no visible chocolate bits.
- Let the melted chocolate cool for 1-2 minutes so it’s warm but not hot, with a pourable consistency. Keep it at room temperature while you prep the ice cream.
- Pour or spoon the warm magic shell generously over cold ice cream so it coats the surface. Work quickly so the topping can start setting right away.
- Let it sit for 30-60 seconds until it hardens into a crackly shell before serving, then serve immediately. The shell should look slightly dull and set around the edges.