
Crunchy corn chips, warm taco beef, and cold toppings all in one paper bag hit that sweet spot between dinner and party food. Walking tacos earn a permanent spot in the rotation because they’re fast, hands-on, and somehow taste better when everyone builds their own bag at the table. The chips stay crisp, the beef brings the heat, and the toppings do exactly what they should: cool, brighten, and add a little mess in the best way.
The trick is keeping the beef thick, not soupy. If the filling is loose, it sinks straight to the bottom of the bag and softens the chips too quickly. I cook the meat until the seasoning clings and the pan looks almost dry again, then I let the toppings stay separate until serving. That gives you the crunch everyone wants without turning the whole thing into chili in a bag.
Below you’ll find the small details that make these work for a crowd, plus a few easy swaps if you want to change up the protein or make the setup easier for a party.
The beef thickened up perfectly and the chips stayed crunchy all the way to the last bite. I set out the toppings in bowls and my kids loved making their own bags.
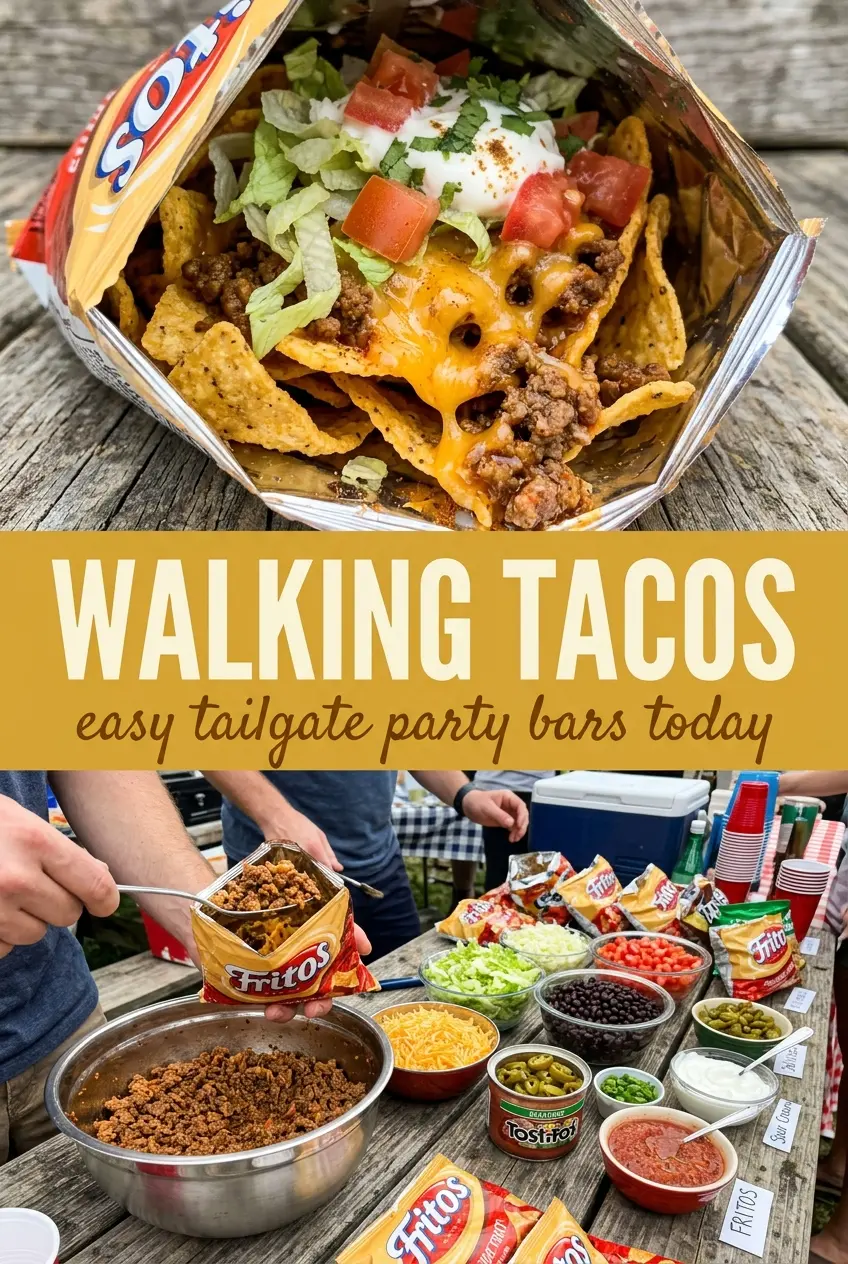
These walking tacos are made for a fast taco bar with crunchy chips, thick beef, and all the toppings in one grab-and-go bag.
The One Thing That Keeps the Chips Crunchy
Walking tacos fall apart when the filling is too loose. A watery taco meat mixture turns the bottom of the bag into soggy mush before you’ve taken three bites. The fix is simple: simmer the beef until the liquid reduces and the seasoning clings to the meat instead of pooling in the skillet.
Another small detail matters just as much. Cut the bags open only when you’re ready to serve, and add the toppings after the beef goes in so the chips don’t sit under heat and steam. If you crush the chips a little before loading them, the fork can get through more easily and every bite has a better mix of beef, cheese, and crunch.
What Each Topping Is Doing in the Bag
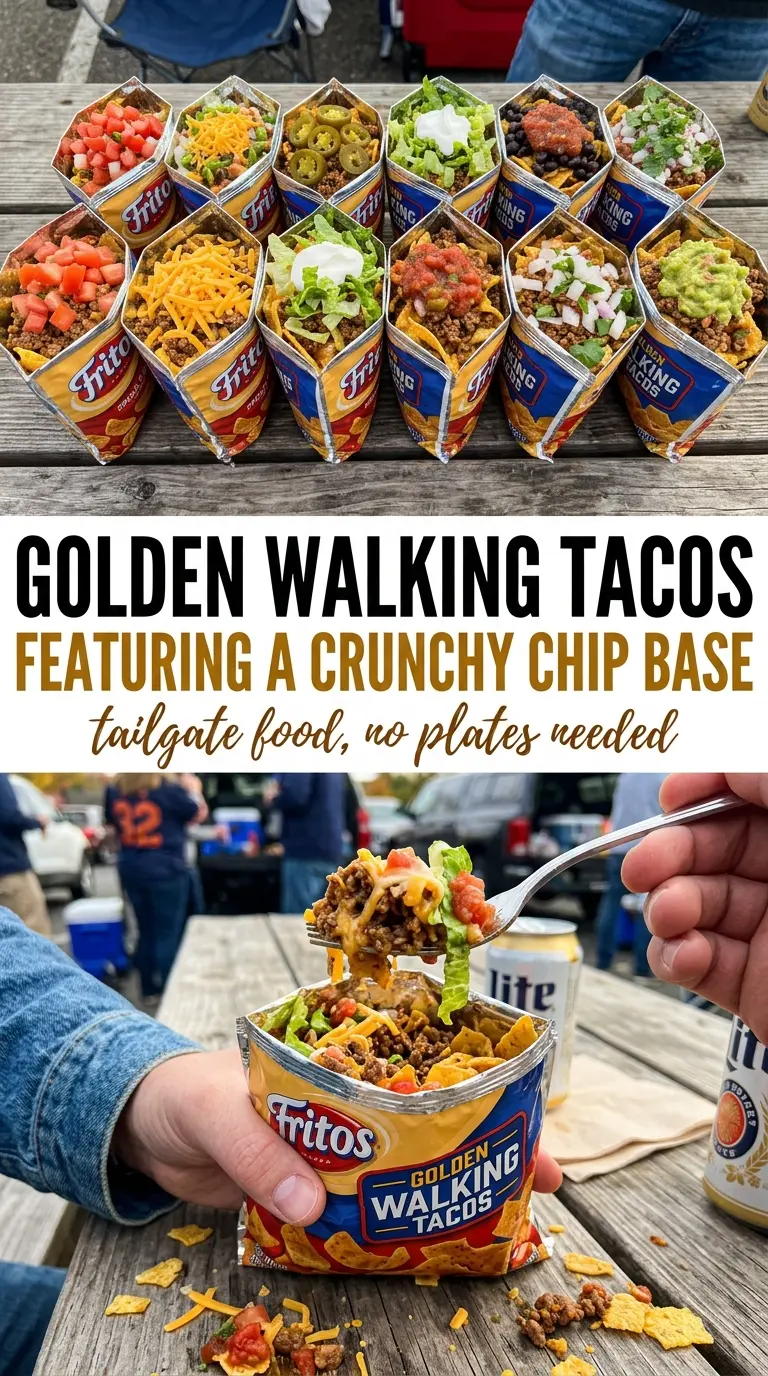
- Ground beef — This is the backbone of the whole thing. An 80/20 blend gives you enough flavor without a greasy finish, and draining off excess fat keeps the chips from getting slick.
- Taco seasoning — Packet seasoning is built for this exact job, and it saves time without sacrificing the classic taco flavor. If you use homemade seasoning, keep an eye on the salt level because chip bags already bring plenty.
- Corn chips — Fritos are the classic choice because they hold up to the filling better than thin tortilla chips. The sturdy shape and salt level give you a better base for the beef and toppings.
- Cheddar, lettuce, tomatoes, sour cream, and salsa — The cold toppings balance the hot meat and add texture. Shredded cheese softens just enough from the heat of the beef, while lettuce and tomatoes keep the whole bag from feeling heavy.
How to Build the Bags So They Eat Like a Meal, Not a Mess
Cooking the Beef Until It Clings
Brown the beef in a skillet over medium-high heat and break it up into fine crumbles as it cooks. Drain off excess grease, then add the seasoning and the amount of water listed on the packet. Let it simmer until the liquid is almost gone and the meat looks glossy and thick instead of brothy. If you stop too early, the filling slides to the bottom and softens the chips fast.
Loading the Chips the Right Way
Slice each bag down one side, not across the top, so it opens wide enough for a fork. Give the chips a gentle squeeze before filling if you want easier eating, but don’t crush them into dust. Spoon in the hot beef first, then layer on cheese so it starts to melt, followed by the cold toppings. That order gives you the best texture in every bite.
Serving Them Before the Chips Give In
These are at their best the minute they’re assembled. Set up a topping bar, fill the bags, and hand them out right away. If the bags sit too long after the beef goes in, the chips lose their crunch even if the filling was cooked perfectly. The whole point is that first contrast between salty, crisp chips and warm taco meat.
How to Adapt Walking Tacos for Different Crowds
Turkey or Chicken Instead of Beef
Ground turkey or chicken works well if you want a lighter filling. Add a little extra oil to the skillet so the lean meat doesn’t dry out, and taste the seasoning before serving because those meats need a bit more salt and spice support than beef.
Vegetarian Walking Tacos
Use seasoned black beans, pinto beans, or plant-based crumbles in place of the meat. Beans bring a softer texture and a little less richness, so add extra salsa or a spoonful of sour cream to keep the bags from tasting flat.
Dairy-Free Topping Bar
Skip the cheese and sour cream and replace them with avocado, guacamole, extra salsa, or a dairy-free crema. You still get the creamy, cooling contrast without changing the core taco flavor.
Storage and Reheating
- Refrigerator: Store the taco meat for up to 4 days in an airtight container. Keep the toppings and chips separate so everything stays fresh.
- Freezer: The seasoned beef freezes well for up to 2 months. Cool it completely before freezing in a flat bag or container, then thaw overnight in the fridge.
- Reheating: Warm the beef in a skillet over medium-low heat with a splash of water if needed. The common mistake is blasting it in the microwave until it dries out; gentle heat keeps the texture better and prevents the seasoning from tasting harsh.
The Things That Trip People Up With This Dish
Walking Tacos
Ingredients
Equipment
Method
- Brown the ground beef in a skillet over medium-high heat until no pink remains, then spread it into an even layer for quick cooking.
- Stir in taco seasoning and add water according to the package directions, mixing until the beef looks evenly coated.
- Simmer the beef until thickened, about 5 minutes, so it clings well to the chips.
- Cut open individual bags of corn chips down one side so they can be filled without spilling.
- Spoon the seasoned beef directly into each bag, aiming for a heaping layer on the bottom.
- Top each bag with shredded cheddar cheese, then add shredded lettuce and diced tomatoes for a fresh crunch.
- Finish each bag with sour cream and salsa, keeping toppings layered rather than stirred.
- Serve immediately by handing out forks with the bags, then eat straight from the packaging.