
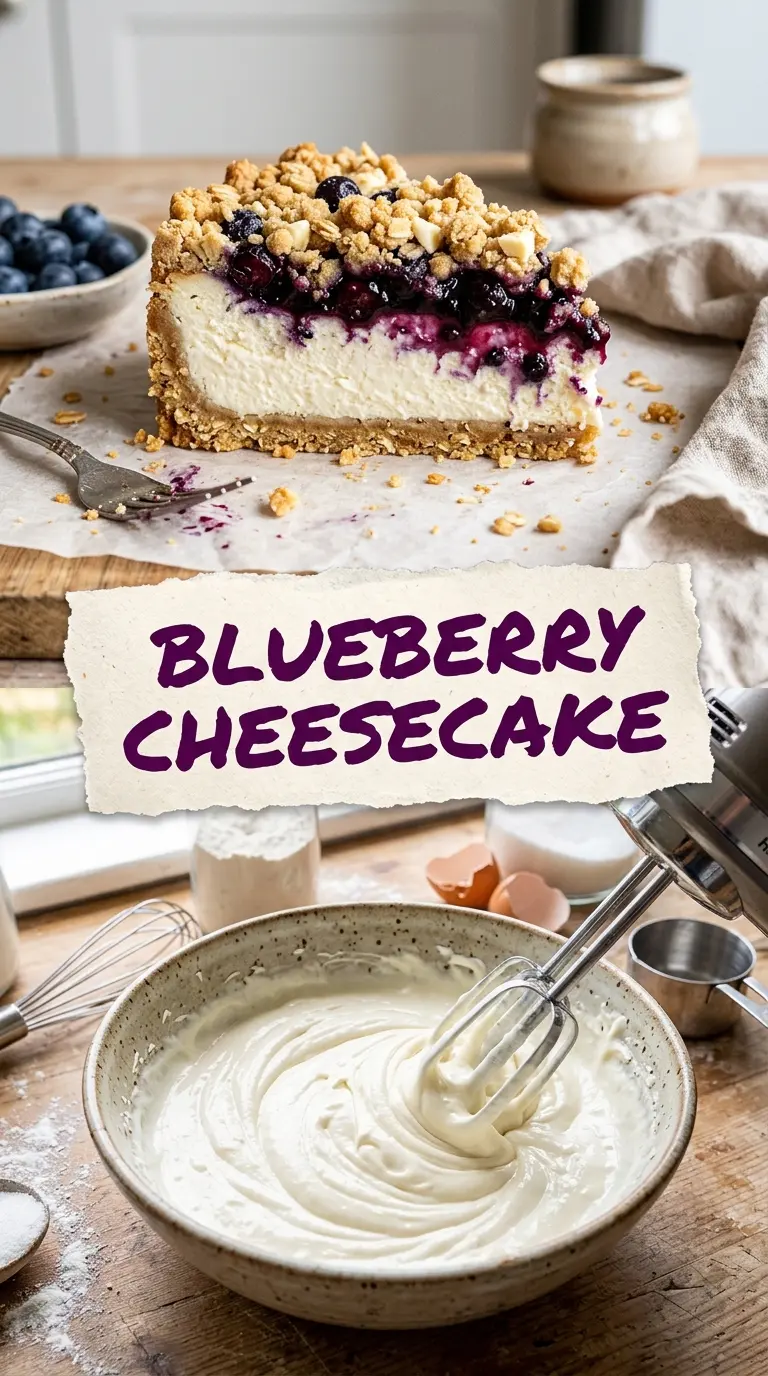
Creamy cheesecake with a glossy blueberry topping and a buttery oat crumble has a way of disappearing faster than almost any other dessert on the table. The base stays firm enough to slice cleanly, the filling bakes up rich and tangy, and that crumble on top gives each bite a little crunch instead of the usual flat, all-soft cheesecake texture. It looks like a bakery dessert, but the method is straightforward once you understand the order of the layers.
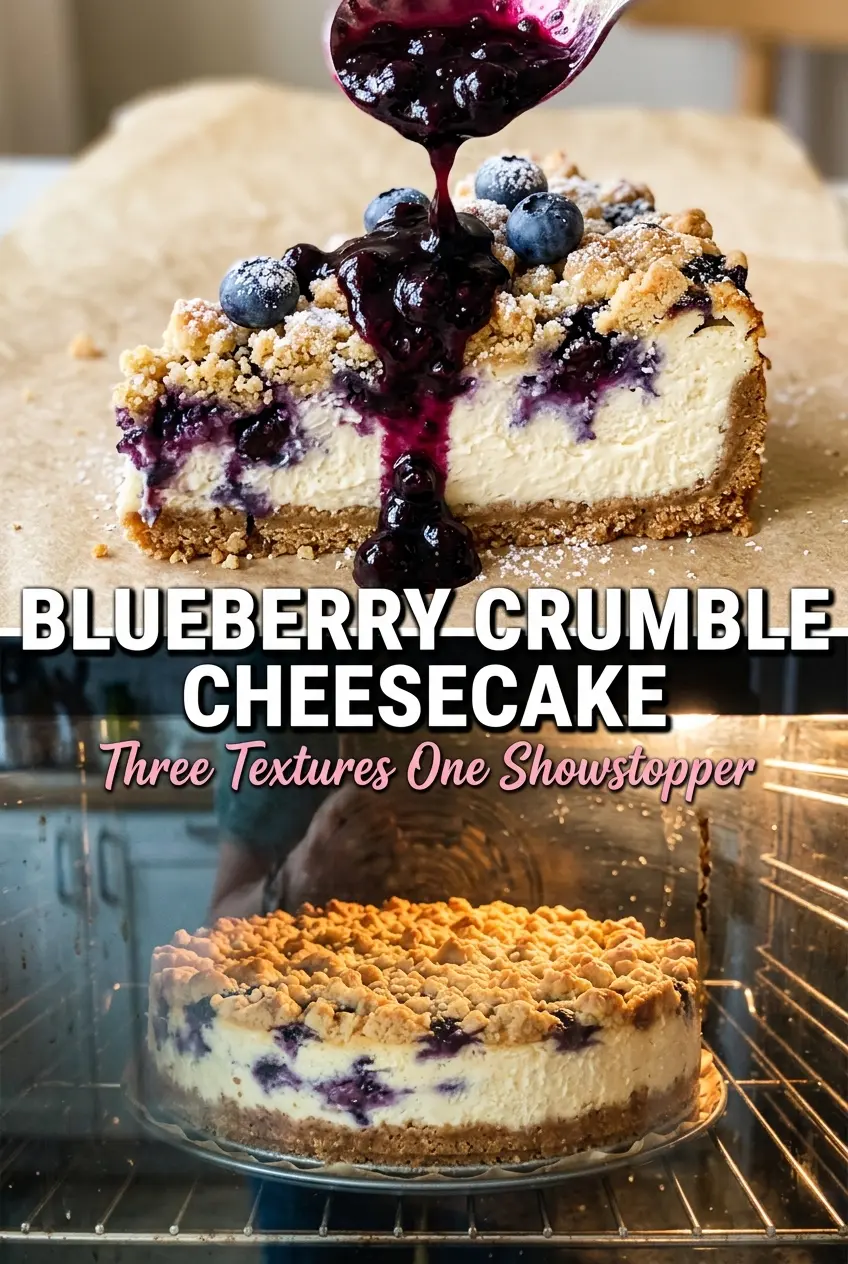
The part that matters most here is restraint. The filling only needs to be mixed until smooth, not whipped full of air, or it can puff and crack as it bakes. A water bath helps keep the heat gentle, and the blueberry topping gets its best texture when you simmer it just long enough for some berries to burst while a few stay whole. That contrast is what makes the finish taste fresh instead of one-note.
Below you’ll find the timing that keeps the cheesecake creamy, the crumble crisp, and the blueberry layer thick enough to sit on top without sliding off. I also included the substitutions and storage notes that matter if you’re making this a day ahead, which is the smartest way to serve cheesecake anyway.
The cheesecake baked up smooth with no cracks, and the blueberry topping was thick enough that it stayed put when I sliced it. The crumble added a nice crunch the next day too.
Save this blueberry crumble cheesecake for the next dessert table — the crisp oat topping and thick blueberry layer make it slice like a dream.
The Crack-Free Secret Is in the Mixing, Not the Baking
Most cheesecake problems start long before the pan goes into the oven. If the cream cheese is still cold, you’ll beat lumps into the batter trying to fix it. If you whip in too much air after the eggs go in, the cheesecake rises like a soufflé and then falls apart as it cools. Smooth and low-key is the goal here.
The other thing that matters is heat. Cheesecake doesn’t want a hard bake; it wants gentle, even heat from the edges to the center. A water bath cushions the pan, keeps the filling from tightening too fast, and gives you that dense, creamy slice instead of a dry, spongy one. Pull it when the edges are set and the center still has a soft wobble.
What Each Ingredient Is Actually Doing in This Dish
- Room-temperature cream cheese — This is nonnegotiable if you want a silky filling. Cold blocks stay lumpy, and overmixing to chase the lumps is what introduces too much air.
- Sour cream — It adds tang and softens the texture. Full-fat works best because it keeps the batter stable and gives the filling a clean, rich finish.
- Eggs — They set the cheesecake, but only if they go in one at a time and get mixed in gently. Once the eggs are added, stop as soon as the batter looks uniform.
- Graham cracker crumbs — They give the crust that familiar buttery snap. If you only have whole crackers, crush them finely so the crust presses together without sandy gaps.
Building the Crust, Filling, Crumble, and Blueberry Layer in the Right Order
Pressing the Crust Until It Holds Together
Mix the graham cracker crumbs with the melted butter until the texture looks like damp sand and the mixture clumps when you squeeze it. Press it firmly into the bottom of the springform pan and slightly up the sides so the crust stays compact after baking. If it feels loose, it’ll crumble when you slice the cheesecake. A flat-bottomed measuring cup makes the surface even and tight.
Mixing the Filling Without Adding Too Much Air
Beat the cream cheese and sugar until smooth, then add the eggs one at a time, followed by vanilla and sour cream. Stop the mixer as soon as everything is combined and glossy. If the batter gets pale and fluffy, you’ve gone too far and the cheesecake will be more likely to crack. Scrape the bowl often so there are no hidden streaks of cream cheese left at the bottom.
Baking Until the Center Still Has a Little Give
Pour the filling over the crust and bake until the edges look set and the center still jiggles slightly when you tap the pan. That’s the moment to trust, not a fully firm center. A cheesecake that looks completely stiff in the oven is already on its way to being overbaked. Let it cool slowly so the heat doesn’t shock the surface and split it.
Cooking the Crumble and Blueberries for Contrast
Stir the oats, brown sugar, and cold butter together until the mixture forms coarse clumps, then bake it until golden and crisp. For the blueberry topping, simmer the berries with sugar and lemon juice until some of them burst and the liquid turns glossy and thick. If the topping looks thin in the pan, it will run over the cheesecake later, so cook it until it coats the spoon. Cool both toppings before assembling so they sit neatly on the chilled cheesecake.
How to Adapt This for Different Tables and Make-Ahead Plans
Gluten-Free Crust Swap
Use gluten-free graham-style crumbs or finely crushed gluten-free cookies in place of standard graham crumbs. The texture stays close, but the flavor can be a little sweeter or more neutral depending on the brand, so choose one with enough structure to hold when pressed.
Dairy-Free Version
This one is harder to convert cleanly because cream cheese and sour cream are doing heavy lifting for both tang and structure. If you go dairy-free, use full-fat dairy-free cream cheese and a thick unsweetened dairy-free yogurt, but expect a softer set and a slightly less rich finish.
Frozen Blueberries Work in a Pinch
Frozen blueberries can replace fresh berries for the topping without changing the method. Don’t thaw them first, or they’ll bleed more liquid and take longer to reduce; just cook them straight from frozen and simmer a few extra minutes until the sauce thickens.
Storage and Reheating
- Refrigerator: Keep covered for up to 5 days. The crumble softens a little after the first day, but the cheesecake itself stays creamy and slices cleanly.
- Freezer: The cheesecake base freezes well without the blueberry topping. Wrap individual slices tightly, freeze up to 2 months, and add fresh topping after thawing for the best texture.
- Reheating: Cheesecake is best served cold or just slightly cool, not warmed. If you want to soften a slice, let it sit at room temperature for 20 to 30 minutes; microwave heat can make the filling greasy and break the texture.
Answers to the Questions Worth Asking
How to Make Blueberry Crumble Cheesecake
Ingredients
Equipment
Method
- Preheat oven to 325F, then set up a 9-inch springform pan for crust and baking.
- Make crust by pressing graham cracker crumbs mixed with melted butter into the bottom of the 9-inch springform pan, then pack it firmly.
- Beat cream cheese and sugar until smooth, then add eggs, vanilla, and sour cream and mix just until combined.
- Bake cheesecake at 325F for 55-65 minutes, until the edges are set and the center still has a slight wobble.
- Cool the cheesecake after baking, then plan to chill it until fully set.
- Mix rolled oats, brown sugar, and cold butter together until crumbly, then bake at 325F for 12 minutes for a golden topping.
- Cool the crumble so it stays crisp when you top the cheesecake.
- Simmer fresh blueberries with sugar and lemon juice at a gentle simmer for 8 minutes, until glossy and thickened.
- Top the chilled cheesecake with the blueberry compote and finish with the cooled oat crumble.
- Chill the cheesecake for 4 hours until the filling is fully set and sliceable.