
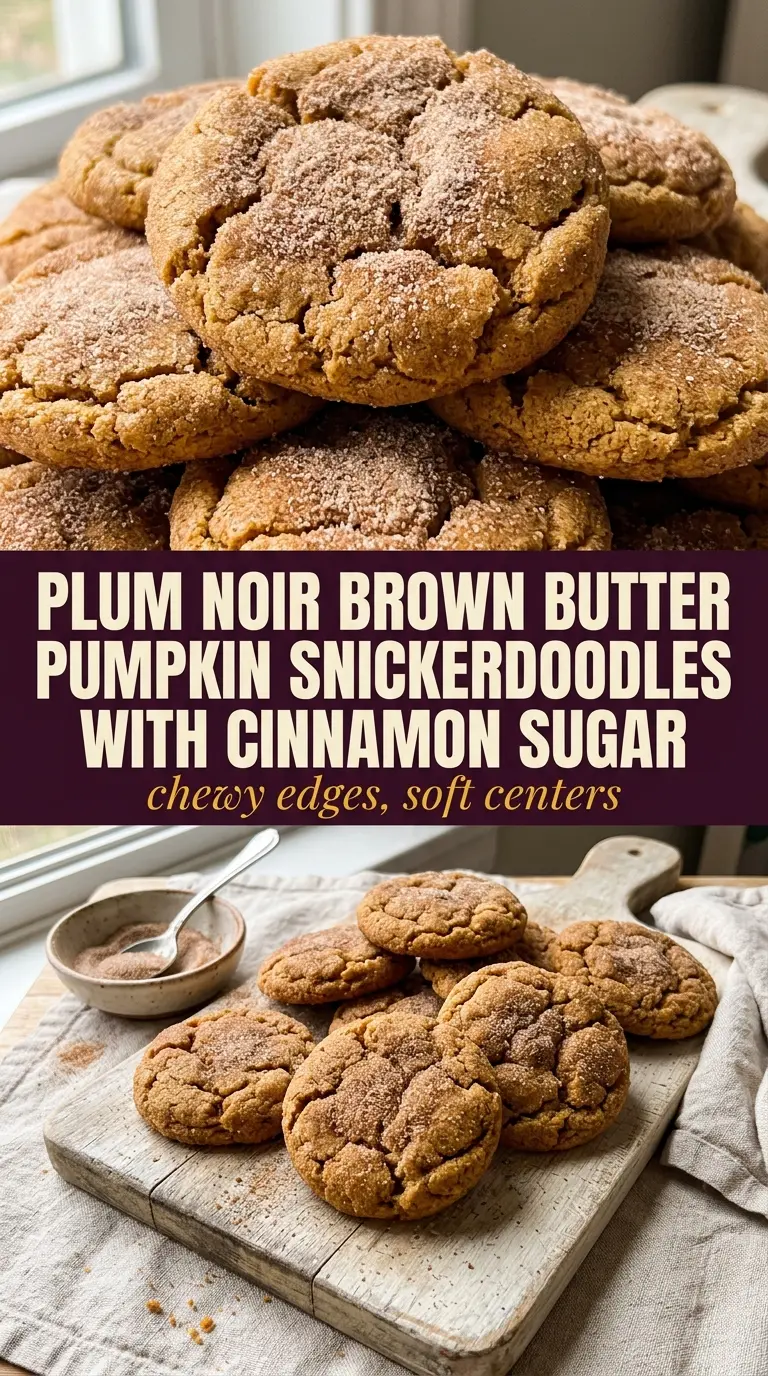
Brown butter gives these pumpkin snickerdoodles the kind of depth that keeps people reaching for one more cookie. The edges set into a tender chew, the centers stay soft, and the cinnamon-sugar coating turns into that familiar crackly shell that makes a snickerdoodle worth baking in the first place. The pumpkin doesn’t take over here; it works quietly in the background, keeping the crumb plush while the browned butter brings the toasted, nutty flavor that plain melted butter can’t touch.
The trick is to let the browned butter cool just enough before it meets the sugar and pumpkin. If it’s too hot, the dough turns loose and greasy, which makes the cookies spread more than you want. The gluten-free flour blend matters too, because it gives these cookies enough structure to hold that soft center without turning sandy or dry. Chill the dough, roll the balls generously, and you’ll get the kind of cookie that looks as good as it tastes.
Below you’ll find the small details that make the texture work, plus the one swap that matters most if you’re using a different gluten-free blend. There’s also a storage note for keeping the cookies soft after baking, which is handy because these disappear faster than you think.
The browned butter made these taste a lot richer than regular pumpkin cookies, and the cinnamon sugar stayed crisp even after they cooled. I chilled the dough like you said and they baked up thick instead of spreading flat.
Brown butter pumpkin snickerdoodles with that soft center and crackly cinnamon sugar top are the kind of cookies worth saving for later.
The Butter Brown-Up That Keeps These Cookies From Tasting Flat
Browned butter is doing the heavy lifting here, and it’s easy to miss how much it changes the cookie. Plain melted butter gives you softness, but browned butter brings toasted milk solids, a little caramel note, and a deeper finish that plays beautifully with pumpkin and cinnamon. The catch is that browned butter behaves differently from softened butter: it’s liquid, and if you use it piping hot, the dough can turn slack and the cookies will spread before the oven sets the edges.
That’s why cooling it slightly matters. You want it warm enough to mix smoothly, not hot enough to melt the sugar into a puddle. The pumpkin puree adds moisture, which helps the centers stay tender, but too much moisture is exactly what can make gluten-free cookies go cakey or gummy if the flour blend is weak. A good blend with starches and a binder keeps these cookies chewy instead of crumbly.
What Each Ingredient Is Actually Doing in This Dough
- Unsalted butter — This is where the flavor starts. Browning it concentrates the milk solids and gives the cookies that nutty edge. Salted butter works in a pinch, but it makes it harder to control the final flavor.
- Gluten-free flour blend — This needs to be a cup-for-cup blend with a binder like xanthan gum or a similar stabilizer. If your blend is mostly rice flour without support, the cookies can spread and turn sandy instead of soft and cohesive.
- Pumpkin puree — Use plain pumpkin puree, not pumpkin pie filling. The puree keeps the cookies moist and soft, but it also adds water, so don’t add extra unless the dough is visibly too dry after mixing.
- Cream of tartar and baking soda — This snickerdoodle backbone matters. Cream of tartar gives the cookies that classic tang and helps the texture stay tender, while baking soda lifts the dough and encourages the crackly top.
- Cinnamon sugar coating — Don’t skimp here. The outer layer sets the snickerdoodle apart from a plain pumpkin cookie, and the sugar helps the surface bake into that light crust that gives way to a soft center.
Getting the Dough to Hold Its Shape Before It Hits the Oven
Brown the Butter Without Walking Away
Melt the butter over medium heat and keep the pan moving until it turns golden and smells nutty, almost like toasted hazelnuts. The color shifts fast at the end, so pull it off the heat as soon as you see amber flecks on the bottom and a deep brown foam on top. If it goes from nutty to scorched, the whole batch tastes bitter, and there’s no fixing that later. Let it cool until it’s warm, not hot.
Mix the Wet Ingredients Before the Flour Goes In
Beat the browned butter with the pumpkin puree and sugar until the mixture looks thick and glossy, then add the egg and vanilla. The mixture may look slightly separated at first because browned butter behaves differently from creamed butter. That’s normal. Once the egg goes in, it should come together into a smooth base. If the butter is still too warm, the egg can loosen the mixture too much, so wait a few minutes if the bowl feels hot.
Chill the Dough for Thicker Cookies
Fold in the dry ingredients just until no dry streaks remain, then chill the dough for 30 minutes. That rest gives the flour time to hydrate and firms up the browned butter so the cookies don’t flatten out in the oven. If the dough still feels sticky after chilling, that’s expected with pumpkin; scoop it with a spoon or cookie scoop and roll quickly in your hands before coating in cinnamon sugar.
Bake Until the Edges Set, Not Until They Look Dry
Bake at 350°F until the edges are set and the centers still look a little soft. The cookies finish on the pan, and if you wait until the tops look fully dry in the oven, they’ll come out overbaked. Five minutes on the baking sheet is enough for them to firm up without losing that soft middle. Move them too early and they can break; leave them too long and the bottoms keep cooking.
How to Adapt These Snickerdoodles for Different Kitchens and Different Diets
Dairy-Free Version
Use a good plant-based butter block that browns well, not a soft tub spread. You’ll lose a little of the classic dairy nuttiness, but the browned flavor still adds depth, and the texture stays close if the butter substitute holds structure when chilled.
If Your Gluten-Free Blend Runs Starchy
Some gluten-free blends make cookies spread more because they don’t hold moisture evenly. If that’s your blend, add 1 to 2 tablespoons more flour and chill the dough until it feels scoopable instead of sticky. The cookies will bake up a little taller and less fragile.
Extra Cinnamon Sugar Coating
If you love a stronger snickerdoodle shell, roll the dough balls twice in cinnamon sugar: once before chilling and once right before baking. The second coating gives you a thicker crackled crust and a little more spice on the outside.
Storage and Reheating
- Refrigerator: Store in an airtight container for up to 5 days. The cookies stay soft, though the cinnamon sugar coating softens a bit by day two.
- Freezer: Freeze the baked cookies for up to 2 months, or freeze the portioned dough balls and bake from frozen with 1 to 2 extra minutes.
- Reheating: Warm baked cookies in a 300°F oven for 3 to 5 minutes. Microwave reheating makes them bendy instead of soft, so the oven is the better choice if you want the edges to keep their texture.
The Questions Worth Asking Before You Bake These
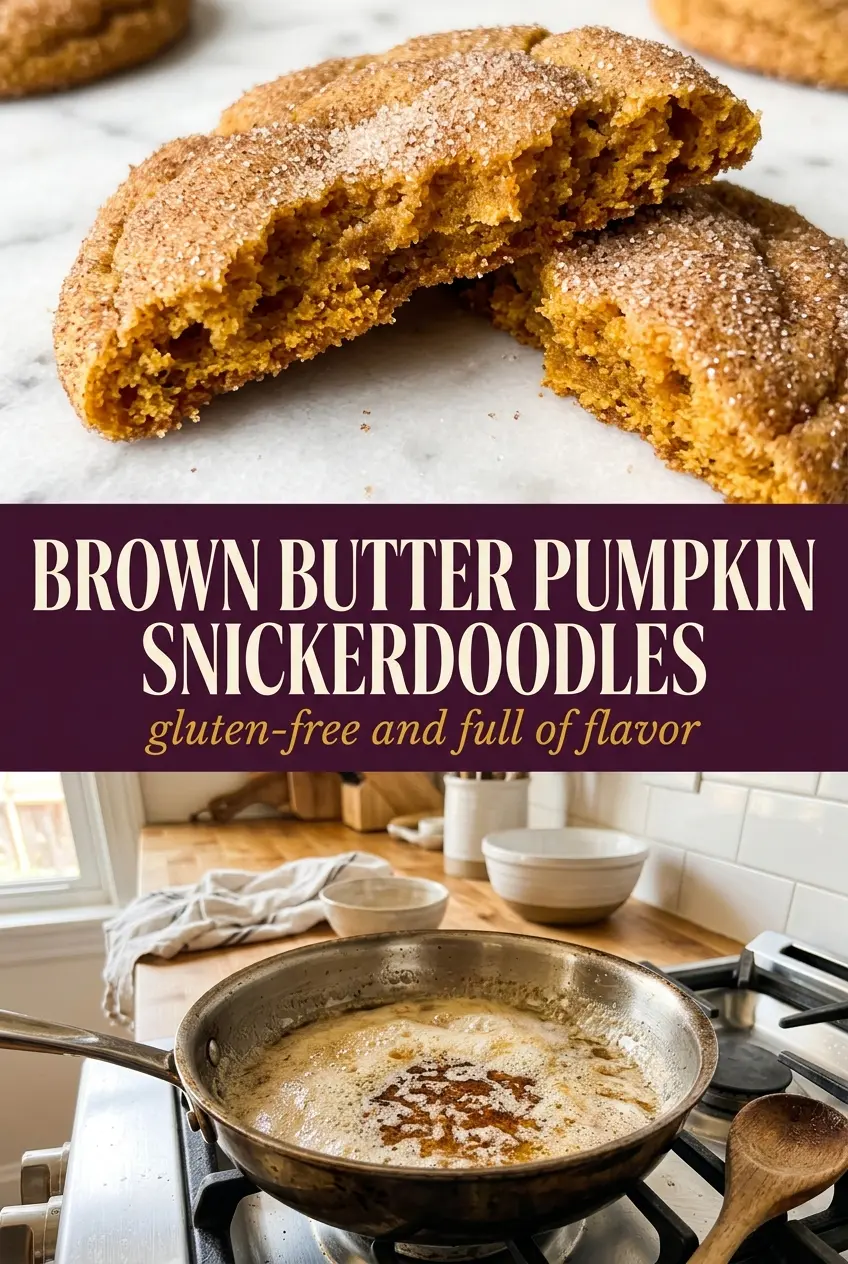
Brown Butter Pumpkin Snickerdoodles
Ingredients
Equipment
Method
- Melt unsalted butter in a saucepan over medium heat until golden brown and nutty, then cool slightly.
- Whisk gluten-free flour blend, baking soda, and cream of tartar together.
- Beat browned butter, pumpkin puree, and sugar until combined, then beat in egg and vanilla extract.
- Fold dry ingredients into the wet mixture until dough forms.
- Chill dough 30 minutes for easier rolling and better shape retention.
- Roll dough into balls and coat in cinnamon sugar made with granulated sugar and cinnamon.
- Bake at 350°F for 10-12 minutes, until edges are set.
- Cool on the baking sheet 5 minutes before transferring.