
Caramel apple cheesecake bars hit that sweet spot between creamy and crisp: a buttery graham crust, a smooth cheesecake layer, cinnamon-scented apples, and a caramel finish that sets the whole thing off. What makes them worth making is the contrast. You get the flavor of apple pie and cheesecake in tidy squares, with none of the fuss of rolling dough or springform pans.
The crust gets a quick bake before the filling goes in, which keeps it from turning soggy under the cream cheese layer. The apples are cooked just long enough to soften and lose that raw edge, but not so long that they collapse into applesauce. That small step is what keeps the bars tasting layered instead of muddy.
Below, I’ll show you the exact chilling time that gives you clean slices, plus a couple of small swaps that still hold the dessert together when you need to work with what’s in the kitchen.
The cheesecake layer set up perfectly and the apples stayed tender instead of watery. I chilled them overnight and got the cleanest slices I’ve ever cut from a dessert bar.
Save these caramel apple cheesecake bars for the dessert table — the creamy filling, soft apples, and caramel drizzle slice cleanly and travel well.
The Reason the Crust Stays Crisp Under a Creamy Filling
The crust in bar desserts gets ignored until it turns soft, and that’s when the whole slice starts falling apart. Here, the first bake is doing real work. It sets the butter and crumbs into a firm base before the cheesecake batter goes on top, which helps the crust hold its shape once the bars chill.
The other thing that matters is thickness. A 9×9-inch pan gives you enough structure so the bars slice neatly without becoming too tall and unstable. If you use a larger pan, the layers thin out and chill faster, but you lose that dense, bakery-style bite.
- Graham cracker crumbs — Fine crumbs pack more tightly than chunky ones, so pulse or crush them until they look sandy. Big pieces leave gaps, and gaps make the crust crumble when you cut it.
- Butter — Melted butter is what binds the crumbs into a sliceable shell. If the mixture still looks dry after stirring, add a teaspoon more butter rather than hoping it will set on its own.
- Cream cheese — Full-fat cream cheese gives the filling its body and tang. Low-fat versions can work in a pinch, but they soften the texture and make the center less clean when sliced.
- Apples — Use a firm baking apple that keeps its shape after a short cook. Softer apples turn mushy fast, and mushy apples spread moisture into the cheesecake layer.
What Each Layer Needs Before It Goes Into the Pan
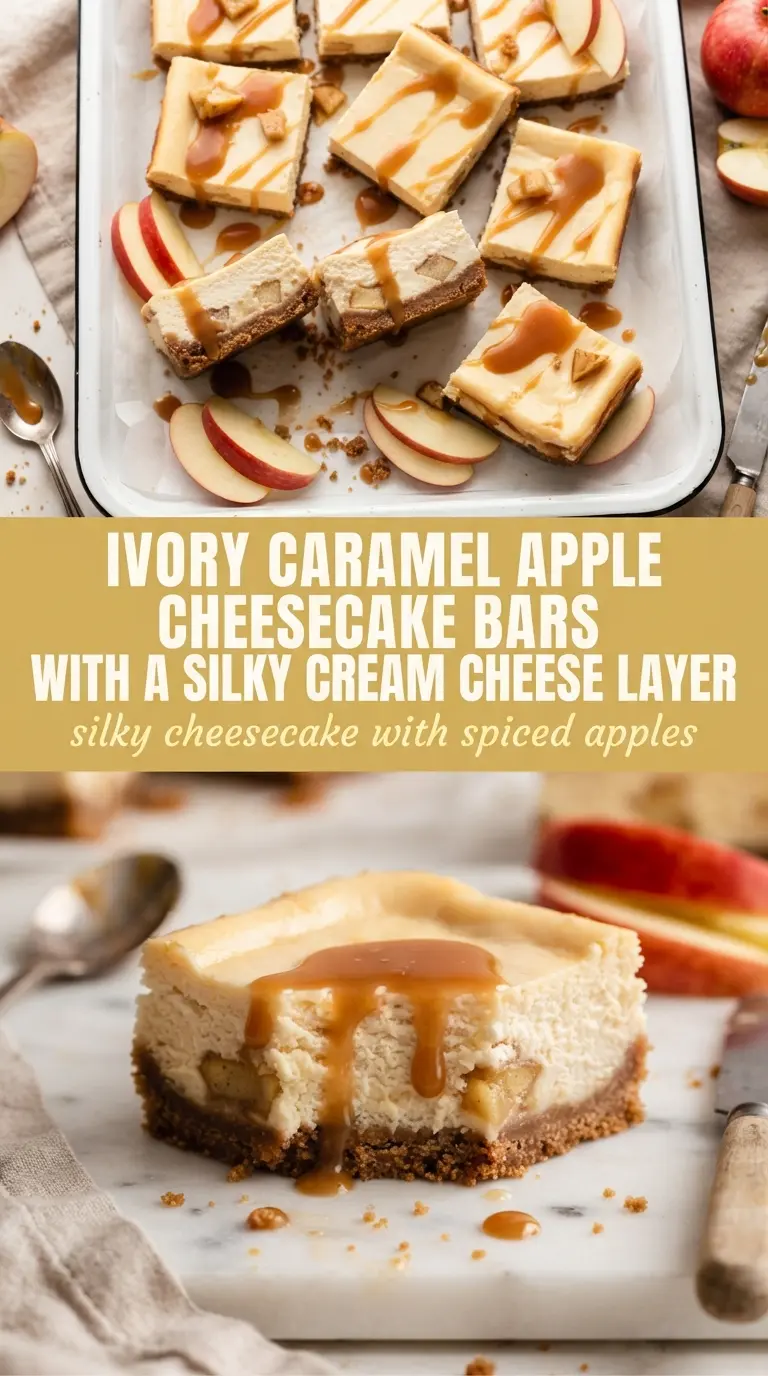
Use full-fat cream cheese and soften it properly. Cold blocks leave little lumps that never fully disappear, even after baking. Room temperature cream cheese beats smooth and keeps the filling silkier without overmixing.
The eggs do more than add richness. They set the cheesecake layer so it slices instead of slumping. Stop mixing as soon as the batter looks uniform; too much air can puff the center in the oven and cause a cracked surface as it cools.
The apple layer needs just enough cinnamon to read as apple pie, not spice cake. A quick cook softens the fruit and lets the cinnamon bloom in the butter or juices from the fruit. If you skip that pre-cook, the apples can release liquid later and soften the top of the bars.
Caramel sauce is best added after chilling, not before. Warm caramel baked into the bars tends to sink and blend into the cheesecake. Drizzling it on at the end keeps the topping glossy and distinct.
Building the Bars So the Layers Stay Distinct
Pressing and Prebaking the Crust
Mix the graham crumbs with melted butter until every crumb looks evenly damp, like wet sand. Press it firmly into the pan, especially into the corners, because loose edges break apart when you lift the bars out. The 8-minute bake should leave the crust lightly fragrant and just starting to deepen in color. If it looks pale and loose, it needs a minute or two more.
Mixing the Cheesecake Filling
Beat the cream cheese with sugar until it looks smooth before adding the eggs and vanilla. If the cream cheese is cold, you’ll see little specks in the batter that never fully dissolve. Add the eggs one at a time and stop as soon as the mixture is creamy and even. Overbeating adds too much air and can make the center rise and fall unevenly.
Cooking the Apples
Cook the diced apples with cinnamon until they just start to soften and their edges look glossy. You’re not trying to make filling here; you’re driving off some moisture and seasoning the fruit. If liquid pools in the pan, keep cooking for another minute or two so the topping doesn’t weep over the cheesecake. Spoon the apples over the baked cheesecake layer only after it has set around the edges.
Chilling for Clean Slices
The bars need the full chill time, not a quick rest on the counter. Three hours is the minimum for clean cuts, but overnight is even better if you want sharp edges. Use a long knife and wipe it between cuts. If you slice too early, the center will drag and the caramel will smear instead of drape.
Dairy-Free Version
Use a dairy-free cream cheese that’s meant for baking and a plant-based butter substitute for the crust. The texture will be a little softer, but the bars still hold if you chill them fully. Choose a caramel sauce that’s dairy-free too, or the topping stops matching the rest of the dessert.
Gluten-Free Crust
Swap in gluten-free graham-style crumbs or a simple mix of gluten-free cookie crumbs and melted butter. The filling and apple topping stay the same. The crust may feel a touch more fragile, so line the pan with parchment for easier lifting.
Extra Caramel on Top
Warm the caramel slightly before drizzling so it ribbons instead of clumping. Add it right before serving if you want the cleanest presentation, or drizzle after chilling for a prettier finish that sets in thin glossy lines.
Make-Ahead for a Crowd
Bake the bars a day ahead and chill them overnight before cutting. The texture firms up and the apple layer settles into the cheesecake instead of sliding around. Add the caramel drizzle close to serving so the top still looks fresh.
Storage and Reheating
- Refrigerator: Store covered for up to 4 days. The crust softens slightly, but the bars stay neat and sliceable.
- Freezer: Freeze the bars without the caramel drizzle for up to 2 months. Wrap individual squares tightly and thaw in the refrigerator so the cheesecake layer doesn’t sweat.
- Reheating: These are best served cold or cool, not reheated. If you want a softer bite, let a square sit at room temperature for 10 to 15 minutes before serving rather than warming it, which can make the cheesecake loose.
Answers to the Questions Worth Asking
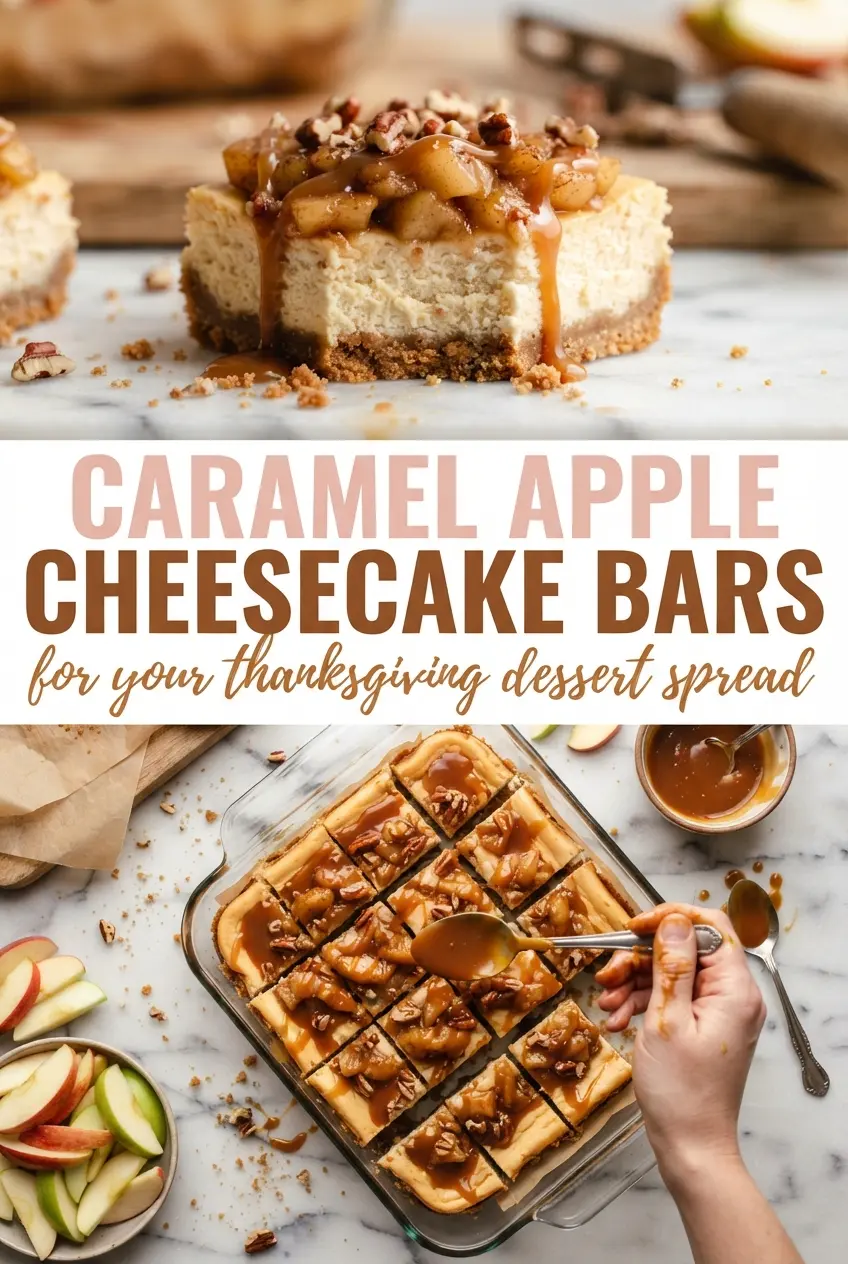
Caramel Apple Cheesecake Bars
Ingredients
Equipment
Method
- Press the graham cracker crumbs and melted butter into a 9x9-inch pan and bake 8 minutes at 350°F, until set and lightly fragrant. The crust should look slightly set and dry around the edges.
- Beat the cream cheese, sugar, eggs, and vanilla until smooth. The mixture should be glossy and free of visible cream cheese lumps.
- Spread the cheesecake mixture over the crust and bake 25 minutes at 350°F. Bake until the center looks set but still slightly soft when gently tapped.
- Cook the diced apples with cinnamon for 5 minutes, stirring until softened. The apples should be tender and coated with cinnamon as the juices thicken slightly.
- Spoon the cinnamon apples over the baked cheesecake bars evenly. Spread to the edges so each bar gets apples in every bite.
- Chill the bars for 3 hours until fully firm. The topping should stay in place and the surface should feel set when pressed lightly.
- Drizzle caramel sauce over the chilled bars right before slicing. The caramel should look glossy and adhere without running.