
Buttery crumble, tender apples, and a ribbon of caramel make these bars disappear fast. The bottom bakes into a sturdy base, the apples soften just enough to hold their shape, and the top turns golden and crisp with those little oat edges that catch in your teeth in the best way. Every bite lands somewhere between pie and a coffee-shop crumb bar, which is exactly why these get made again whenever I need a dessert that travels well and slices cleanly.
The part that makes these work is the balance of moisture. The apples are tossed with cornstarch so the juices thicken instead of running all over the pan, and the melted butter helps the crumb mixture pack down without needing a mixer. Brown sugar brings a deeper, almost toffee-like note that plays nicely with the caramel sauce, so the filling tastes layered instead of just sweet.
Below, I’ve included the trick that keeps the bars neat when you lift them from the pan, plus a few swaps that still give you a crisp crumb and a soft apple center.
The crumble stayed crisp even after cooling, and the cornstarch kept the apples from turning soupy. I cut them the next day and the bars held together beautifully.
Save these caramel apple crumble bars for the dessert table, bake sale, or any night when you want a crisp, buttery topping over soft baked apples.
The Reason These Bars Stay Neat Instead of Falling Apart
Caramel apple bars can get messy fast if the base is too loose or the filling is too wet. The fix is in the structure: half the crumb mixture gets pressed firmly into the pan, then the apples go on top with cornstarch to catch the juices as they bake. That gives you layers that hold together when cooled, instead of a pan of soft crumbs and syrup.
The other thing that matters is letting the bars cool before cutting. Warm caramel and hot apples will slide, even if the bake looks perfect coming out of the oven. Once the pan is fully cool, the crumb firms up and the slices come out in clean squares.
What the Apples, Oats, and Caramel Are Each Doing Here
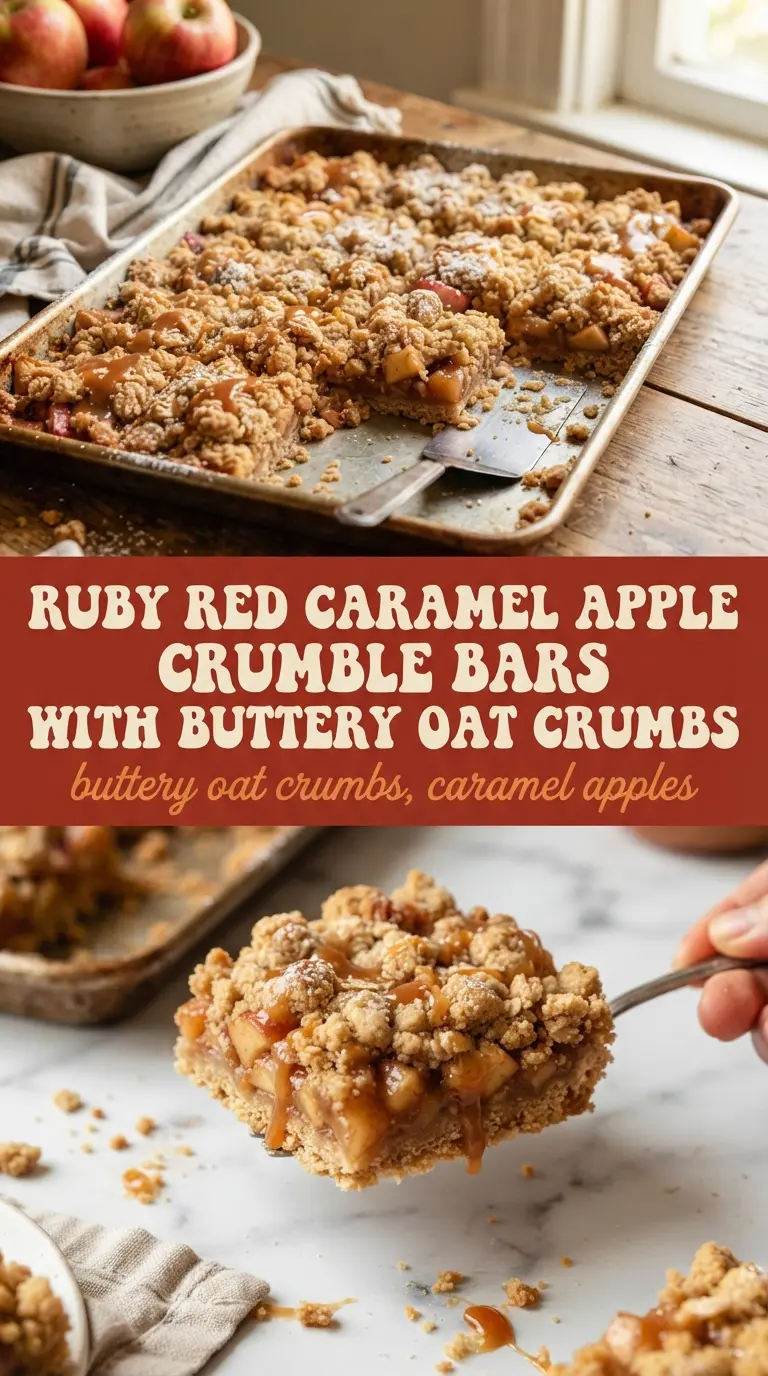
- Old-fashioned oats — These give the crumb its nubby texture and keep it from eating like a plain shortbread bar. Quick oats will work in a pinch, but the texture gets tighter and less craggy.
- Brown sugar — This adds moisture and a deeper caramel note that white sugar can’t match. Light brown sugar is fine; dark brown sugar gives the bars a stronger molasses edge.
- Melted butter — Melted butter makes the mixture pack and press without a mixer, which is exactly what you want for a sturdy bar base. If you use softened butter instead, the crumb tends to stay fluffier and won’t set as compactly.
- Apples — Use a firm baking apple that keeps some bite after 45 minutes in the oven. Granny Smith gives you the most tart contrast, while Honeycrisp or Braeburn will read sweeter and softer.
- Caramel sauce — A thick sauce gives you the best ribbon through the filling. Thin ice cream topping tends to disappear into the apples and won’t leave those pockets of caramel flavor.
- Cornstarch — This is what turns the apple juices into a glossy filling instead of a puddle. If you skip it, the bars will still bake, but they’ll cut loose and soggy at the bottom.
Building the Crumble So the Bottom Bakes and the Top Stays Crisp
Mixing the crumb
Stir the flour, oats, brown sugar, melted butter, and cinnamon until every dry patch is moistened and the mixture looks like damp sand with clumps. Those clumps are what bake into crisp little edges, so don’t overwork it into a paste. If the mixture seems too dry to hold together when pinched, add a spoonful more melted butter; if it looks greasy, let it sit a minute before pressing.
Pressing in the base
Line the pan with parchment so you can lift the bars out cleanly later, then press just over half the crumble firmly into an even layer. Use the bottom of a measuring cup to compact it, especially into the corners, because a loosely packed base will crumble when sliced. The goal is a dense layer that still tastes tender after baking, not a loose bed of crumbs.
Layering the apples and finish
Toss the sliced apples with cornstarch until they look lightly coated, then spread them over the base in an even layer. Drizzle the caramel over the apples in ribbons rather than pouring it all in one spot, so it doesn’t sink to the bottom. Scatter the remaining crumble over the top and bake until the surface is deep golden and the apple filling is bubbling at the edges.
Cooling before slicing
Let the pan cool completely before you lift and cut it. That cooling time is where the filling sets and the crust firms up, and it matters more than the bake time itself. If you cut while the bars are warm, the caramel will run and the layers won’t hold.
How to Adapt These Bars When You Want a Different Finish
Gluten-Free Version
Swap the all-purpose flour for a good 1:1 gluten-free baking blend. The bars will still hold together, but the crumb may be a touch more delicate, so let them cool fully before lifting them from the pan.
Dairy-Free Version
Use a plant-based butter that bakes well in place of the regular butter. Choose one with enough fat to behave like butter in the crumb; lighter spreads can make the base dry and sandy instead of rich and cohesive.
Extra-Caramel Finish
If you want a stronger caramel note, drizzle a little extra sauce over the bars after they cool instead of before baking. That keeps the top crisp while giving you a glossy finish and a more pronounced caramel flavor on each square.
Storage and Reheating
- Refrigerator: Store in an airtight container for up to 5 days. The crumb softens a little in the fridge, but the bars still slice well when cold.
- Freezer: Freeze the cut bars wrapped individually, then place them in a freezer bag for up to 2 months. Thaw in the refrigerator so the caramel doesn’t turn sticky on the counter.
- Reheating: Warm a bar in the microwave for 10 to 15 seconds if you want the caramel soft again. Longer heat makes the crumb chewy, so stop as soon as the center loses its chill.
Answers to the Questions Worth Asking
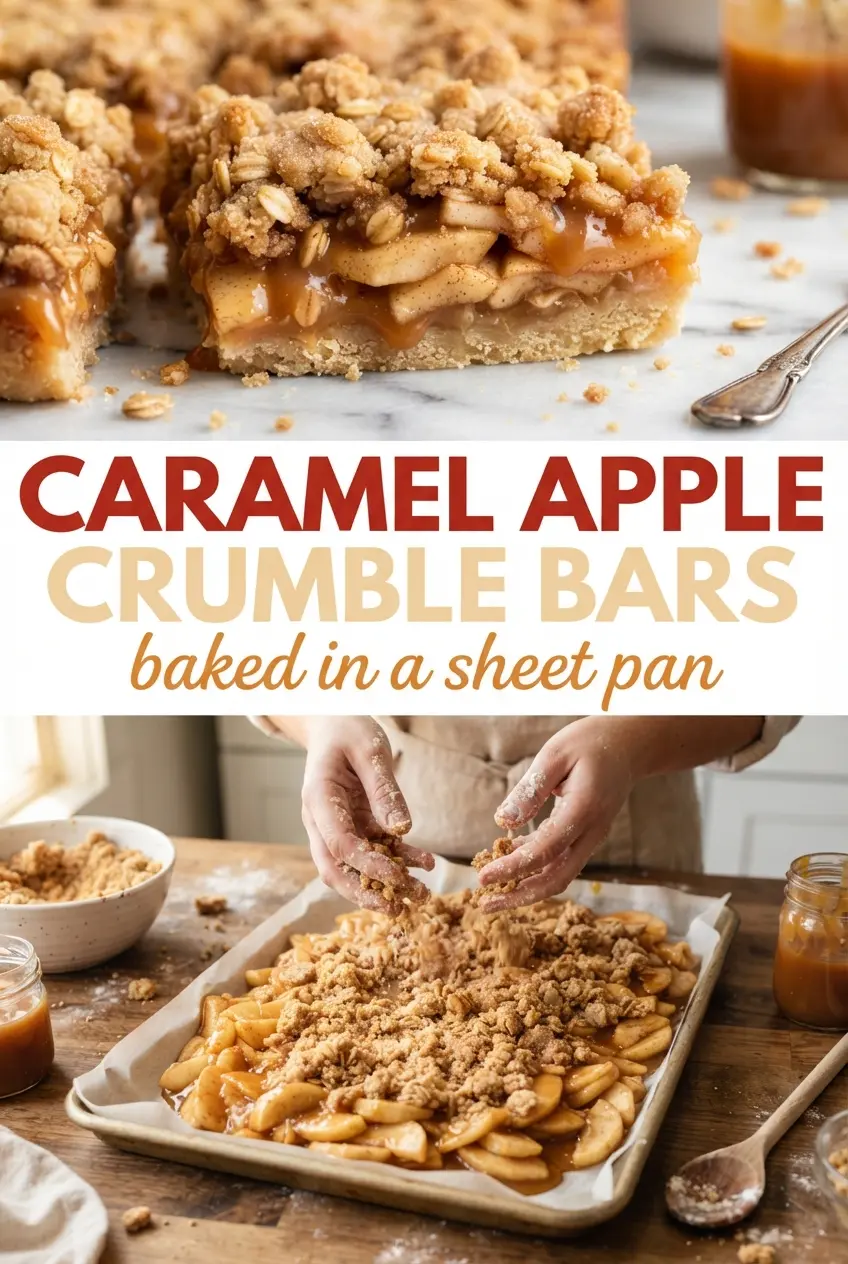
Caramel Apple Crumble Bars
Ingredients
Equipment
Method
- Preheat the oven to 350°F and line a 9x13-inch sheet pan with parchment for easy lifting. Set it aside while you mix the crumble.
- Mix the all-purpose flour, old-fashioned oats, brown sugar, butter, melted, and cinnamon until the mixture looks evenly crumbly. Rub it lightly between your fingers to distribute the butter.
- Press half of the crumble into the lined 9x13-inch sheet pan to form an even bottom layer. Pack it firmly so the bars hold together.
- Toss the apples, sliced with the cornstarch until the slices are lightly coated. Spread the apples over the base in an even layer.
- Drizzle the caramel sauce over the apples, then sprinkle the remaining crumble on top. Cover as much of the apples as possible so the top bakes crisp.
- Bake at 350°F for 45 minutes, until the edges are golden and the crumble looks set. If the center looks loose, bake a few extra minutes until it firms up.