
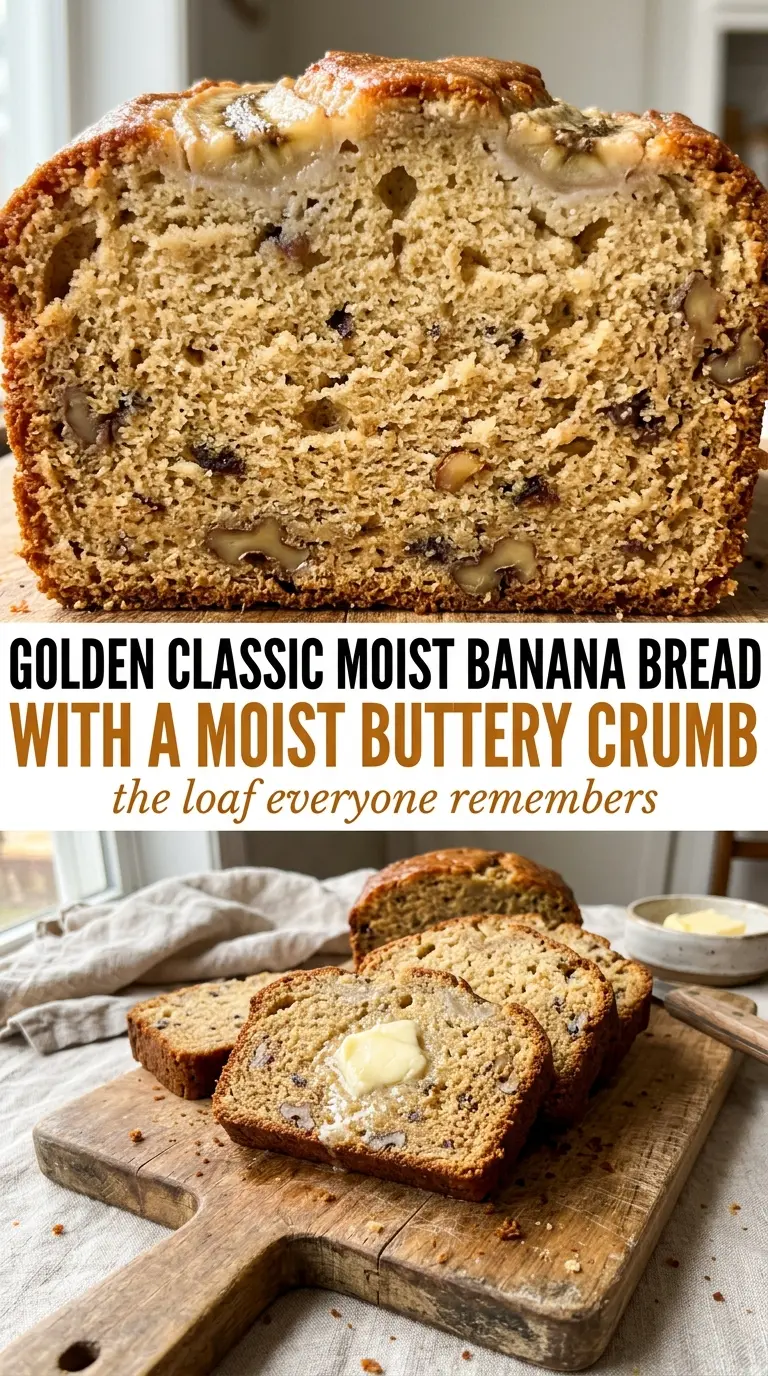
Classic banana bread earns its place in the kitchen because it stays tender for days, slices cleanly, and makes those overripe bananas taste like the best kind of backup plan. The crumb is soft and buttery, the top turns deep golden, and the flavor gets richer after the loaf cools, which is why a good banana bread often disappears faster on day two than it does warm from the oven.
What separates a loaf that tastes homemade in the best way from one that turns dense or gummy comes down to two things: very ripe bananas and a light hand once the flour goes in. Spotty bananas bring sweetness and moisture without needing extra fuss, and melted butter gives the bread that familiar bakery-style richness without making it heavy. Baking soda does its job here too, giving the loaf lift and helping the banana flavor stay bright instead of flat.
Below, I walk through the small details that keep banana bread soft instead of tough, plus the one mistake that most often ruins the texture. If you’ve ever ended up with a loaf that looks done on the outside but sinks in the center, the process section will help you avoid that.
I’ve made banana bread for years, and this one was the first loaf that stayed moist all the way to the last slice. The center baked up soft but not gummy, and the banana flavor was even better the next morning.
Save this classic moist banana bread for the days when your bananas are spotted and your kitchen needs a soft, buttery loaf that stays tender for days.
The Line Between Tender and Tough in Banana Bread
Banana bread only looks forgiving. The batter is simple, but it punishes overmixing fast. Once the flour hits the bowl, every extra stroke starts developing gluten, and that’s how you end up with a loaf that bakes up rubbery instead of soft. Stop mixing as soon as the flour disappears and the batter looks a little lumpy. That’s the right place to stop.
The other mistake happens in the oven. If the loaf is pulled too early, the center sinks after cooling; if it bakes too long, the crumb dries out before the bananas have a chance to keep it moist. A clean toothpick is the cue here, but the top should also be deeply golden and the loaf should spring back lightly when touched in the center.
What Each Ingredient Is Actually Doing in This Dish
- Very ripe bananas — The black-spotted bananas do the real work here. They bring sweetness, moisture, and that deep banana flavor without needing extra ingredients. If yours aren’t ripe enough, bake them in their skins at 300°F until the peels darken and soften.
- Melted butter — Butter gives the loaf richness and helps keep the crumb tender. Melted butter mixes easily with the bananas and makes the batter come together without creaming or extra equipment.
- All-purpose flour — This gives the bread structure without making it heavy. Bread flour is too strong here; it can make the loaf chewy. Measure lightly so you don’t pack in too much.
- Baking soda — This is what helps the loaf rise and browns the crust. It needs the acidity and moisture from the bananas to work properly, so don’t swap in baking powder one-for-one.
Mixing the Batter Without Losing the Soft Crumb
Starting With the Bananas and Butter
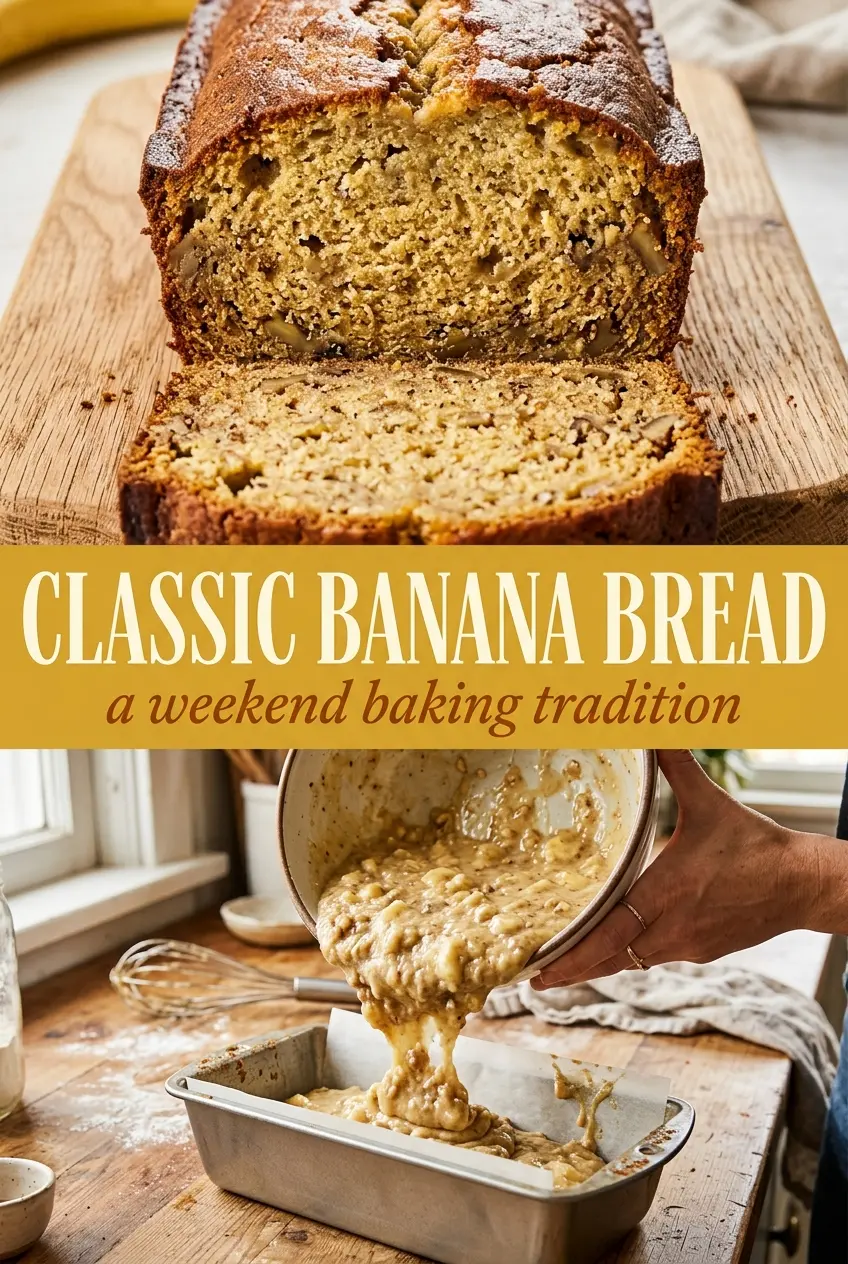
Mash the bananas in a large bowl until mostly smooth, with a few small lumps still visible. Stir in the melted butter while the bananas are still warm and loose, because the fat blends more evenly that way and coats the fruit before the dry ingredients go in. The mixture should look glossy and thick, not separated. If the butter looks greasy on top, the bananas were too cold; keep stirring and it will come together.
Adding the Sugar, Egg, and Vanilla
Mix in the sugar first so it starts dissolving into the banana mixture, then add the egg and vanilla. The batter will loosen and look shinier at this point, which is what you want. The egg gives the loaf structure, but if you beat it hard you’ll trap too much air and the bread can bake with a tunnel down the center. Stir until the mixture is even, then stop.
Bringing in the Dry Ingredients
Sprinkle the baking soda and salt over the bowl before adding the flour, then fold everything together just until the flour disappears. Use a spatula and scrape from the bottom so there isn’t a hidden pocket of dry flour under the batter. A few streaks are better than overmixing. Once the batter looks thick and cohesive, it’s ready for the pan.
Baking Until the Center Sets
Pour the batter into a greased loaf pan and smooth the top so it bakes evenly. The loaf is done when the center springs back, the edges pull a little from the sides, and a toothpick comes out clean or with a few moist crumbs. If the top browns too quickly before the middle sets, lay a piece of foil loosely over the pan for the last 10 to 15 minutes. Let it cool in the pan for 10 minutes before turning it out so it doesn’t break while it’s still fragile.
Three Ways to Make This Banana Bread Work for Your Pantry
Chocolate Chip Banana Bread
Fold in 3/4 cup chocolate chips after the flour goes in for a sweeter loaf with pockets of melted chocolate. The chips add a little richness and make the bread feel more dessert-like, but they don’t change the baking time much unless you add a full cup or more.
Dairy-Free Banana Bread
Swap the butter for melted coconut oil or a neutral oil in the same amount. Oil keeps the crumb moist, while coconut oil adds a faint coconut note that works well with banana. The loaf will be a touch softer and less buttery, but it still slices cleanly.
Whole Wheat Version
Replace up to half the all-purpose flour with white whole wheat flour for a nuttier loaf that still stays tender. Go all the way to 100% whole wheat and the bread turns heavier and a little drier, so half-and-half gives you better texture without losing that familiar banana bread feel.
Storage and Reheating
- Refrigerator: 4 days. The loaf can taste a little firmer when chilled, so bring slices back to room temperature before serving if you want the softest crumb.
- Freezer: Freezes well. Wrap the cooled loaf or individual slices tightly in plastic, then foil, and freeze for up to 3 months.
- Reheating: Warm slices in the toaster oven or microwave just until heated through. Long reheating dries banana bread out fast, so use short bursts and stop as soon as the center feels soft again.
Questions I Get Asked About This Banana Bread
Classic Moist Banana Bread
Ingredients
Equipment
Method
- Preheat the oven to 350°F and grease a loaf pan.
- Mash the ripe bananas in a large bowl, then stir in the melted butter until smooth.
- Stir in the sugar, egg, and vanilla until well combined.
- Sprinkle the baking soda and salt over the mixture, then stir to distribute evenly.
- Add the all-purpose flour and fold just until no dry flour remains.
- Pour the batter into the prepared loaf pan and smooth the top.
- Bake for 55-60 minutes at 350°F, until a toothpick inserted in the center comes out clean.
- Cool in the pan for 10 minutes, then turn out onto a wire rack to finish cooling.