
Warm cinnamon rolls, spiced loaf cakes, and rustic pies on a wooden board have a way of making the whole kitchen feel calmer. The best fall baking aesthetic setups don’t look staged to death; they look like you pulled a few beautiful things from a real baking day and let them tell the story. That’s what makes this style so useful. It’s cozy, photogenic, and built around food that already brings texture, color, and warmth to the frame.
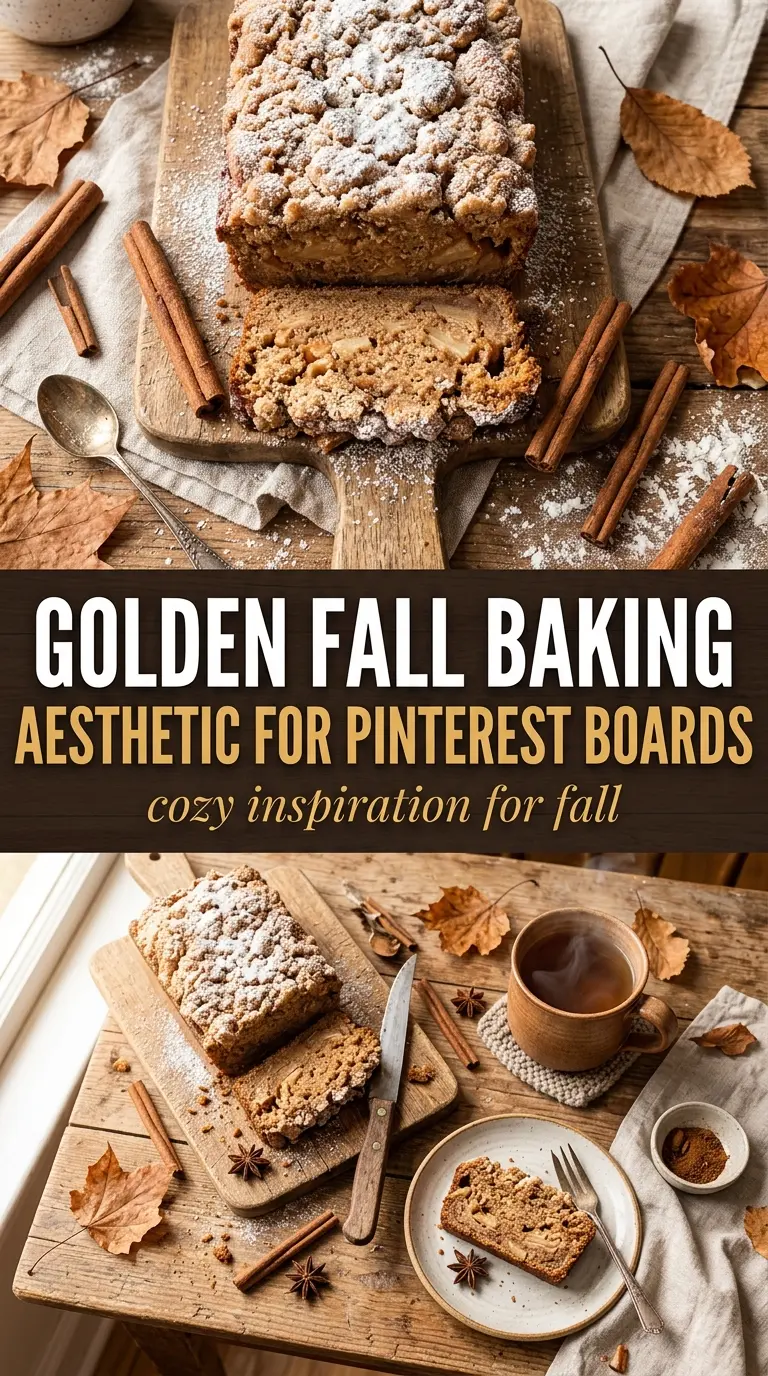
The trick is giving the scene a few strong anchors: a golden crust, a swirl of icing, a dusting of spice, or a slice cut cleanly to show the crumb. Natural window light matters more than props, and the props you do use should support the food instead of competing with it. Think cinnamon sticks, linen, parchment, and a few autumn leaves rather than a crowded tabletop full of decorations.
Below, I’m breaking down how to build a fall baking scene that looks polished without losing that homemade feel. The same principles work whether you’re styling a loaf cake, a pan of rolls, or a pie that still needs one good slice for the photo.
The loaf cake came out with such a clean crumb, and the cinnamon sticks plus a few leaves made the photos look like I actually knew what I was doing.
Save these fall baking aesthetic ideas for the next time you want cinnamon rolls, loaf cakes, or pies to look as cozy as they taste.
Why Fall Baked Goods Photograph Better When You Leave a Little Imperfection
The mistake most people make with fall baking photos is trying to make everything look too polished. A pie with a perfect crust edge, a loaf cut into sterile rectangles, or rolls arranged like a catalog shot can look flat. A little crumb on the board, a drizzle that ran down the side, or one slice pulled away from the rest gives the food movement. That’s what the eye reads as real.
Warm-toned bakes also help on their own. Pumpkin, cinnamon, browned butter, apples, and maple all carry color that plays well against wood, parchment, cream-colored dishes, and dried leaves. If the food itself is pale, the scene needs stronger contrast. If the food is dark and glossy, keep the background simple so the texture doesn’t disappear.
What the Styling Props Are Actually Doing Here
The pumpkin puree in the sample bake is doing more than adding flavor. It gives the crumb moisture and that deep golden-orange color that instantly reads as fall. If you swap it for applesauce, the texture gets softer and a little more muted; that can work, but you lose some of the body and color that make the finished bake look rich.
All-purpose flour keeps the structure straightforward, which matters if you want neat slices for photos. A lower-protein flour can turn the crumb too delicate and crumbly, while bread flour would make the texture tighter than you want for a tender loaf or cake. The pumpkin pie spice is there for scent and visual mood as much as flavor; if yours tastes flat, it’s often because the spice blend is old and losing its punch.
Building the Bake So It Looks Good on the Board
Mixing the Dry Ingredients First
Whisk the flour, baking soda, and pumpkin pie spice together before anything else touches the bowl. That keeps the spice from clumping in one spot and helps the baking soda distribute evenly, which matters for an even rise and a crumb that looks uniform when sliced. If you see streaks of spice after mixing, keep whisking; those streaks often show up as dark pockets in the finished bake.
Bringing the Wet Ingredients Together
Stir the pumpkin puree, sugar, eggs, and oil until the mixture looks smooth and glossy. The pumpkin should fully break down into the batter, with no oily sheen floating on top. If the eggs are cold and the mixture looks separated, give it a little more time instead of rushing ahead, because a poorly blended base can bake up unevenly and look dense in the center.
Finishing the Batter Without Toughening It
Combine the wet and dry ingredients until the flour just disappears. Stop there. Overmixing builds too much structure and gives you tunnels or a tight crumb, which photographs poorly and eats even worse. A few small streaks of flour are better than a batter beaten smooth for too long.
Baking Until the Center Is Set
Pour the batter into a prepared pan and bake at 350°F until the top springs back lightly and a tester comes out with a few moist crumbs, not wet batter. That 45 to 50 minute window is only a guide; the real cue is the way the center settles. If the middle still sinks hard when you touch the top, it needs more time. Cool it completely before styling, or the steam will smear the crumb and soften any props you place around it.
How to Adapt This for Different Looks and Diets
Dairy-Free Pumpkin Bake
This base already works well without dairy because it uses oil instead of butter. That means you keep a moist crumb and avoid the heavier texture some butter-based cakes pick up. If you want to keep the styling warm and cozy, add a dusting of powdered sugar or a simple glaze for contrast.
Gluten-Free Version
A good 1:1 gluten-free flour blend can work here, but it needs enough starch and binder to hold the crumb together. The finished bake may be a touch more delicate, so let it cool fully before slicing. Cutting it warm can make it look gummy even when it’s baked through.
Stronger Spice, Deeper Color
Add an extra half teaspoon of pumpkin pie spice or a pinch of cinnamon if you want the aroma to carry more strongly in photos and in the kitchen. This won’t change the structure much, but it does make the bake read as more autumn-forward. Keep it restrained if you want the pumpkin flavor to stay front and center.
Storage and Reheating
- Refrigerator: Store covered for up to 4 days. The crumb stays moist, but the top can soften a bit.
- Freezer: Freeze slices tightly wrapped for up to 2 months. Thaw at room temperature while still wrapped so the surface doesn’t dry out.
- Reheating: Warm individual slices briefly in the microwave or a low oven. High heat dries the edges before the center has a chance to warm through.
Questions I Get Asked About This Recipe

Fall Baking Aesthetic Spiced Pumpkin Loaf
Ingredients
Equipment
Method
- Preheat the oven to 350°F, then prepare a pan for baking so the batter can go in right away.
- Whisk together all-purpose flour, baking soda, and pumpkin pie spice until evenly combined and no dry streaks remain.
- In a separate bowl, mix pumpkin puree, granulated sugar, eggs, and vegetable oil until smooth and glossy.
- Combine the wet mixture with the dry mixture and stir just until mixed; stop as soon as no flour pockets are visible.
- Pour the batter into the prepared pan and bake at 350°F for 45-50 minutes, until a toothpick comes out mostly clean.
- Cool the loaf so it slices cleanly, then place it on a wooden board.
- Style for photos with cinnamon sticks and autumn leaves as rustic props around the loaf.