
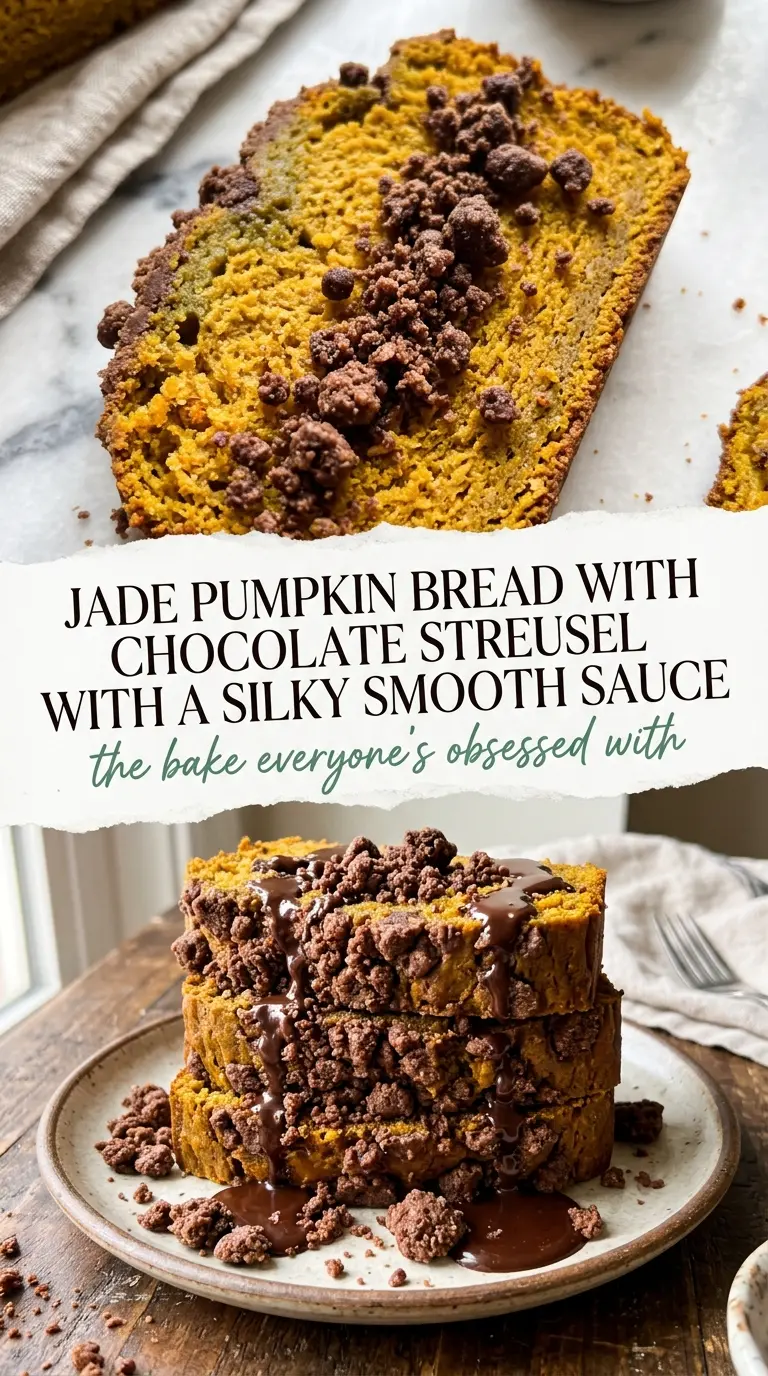
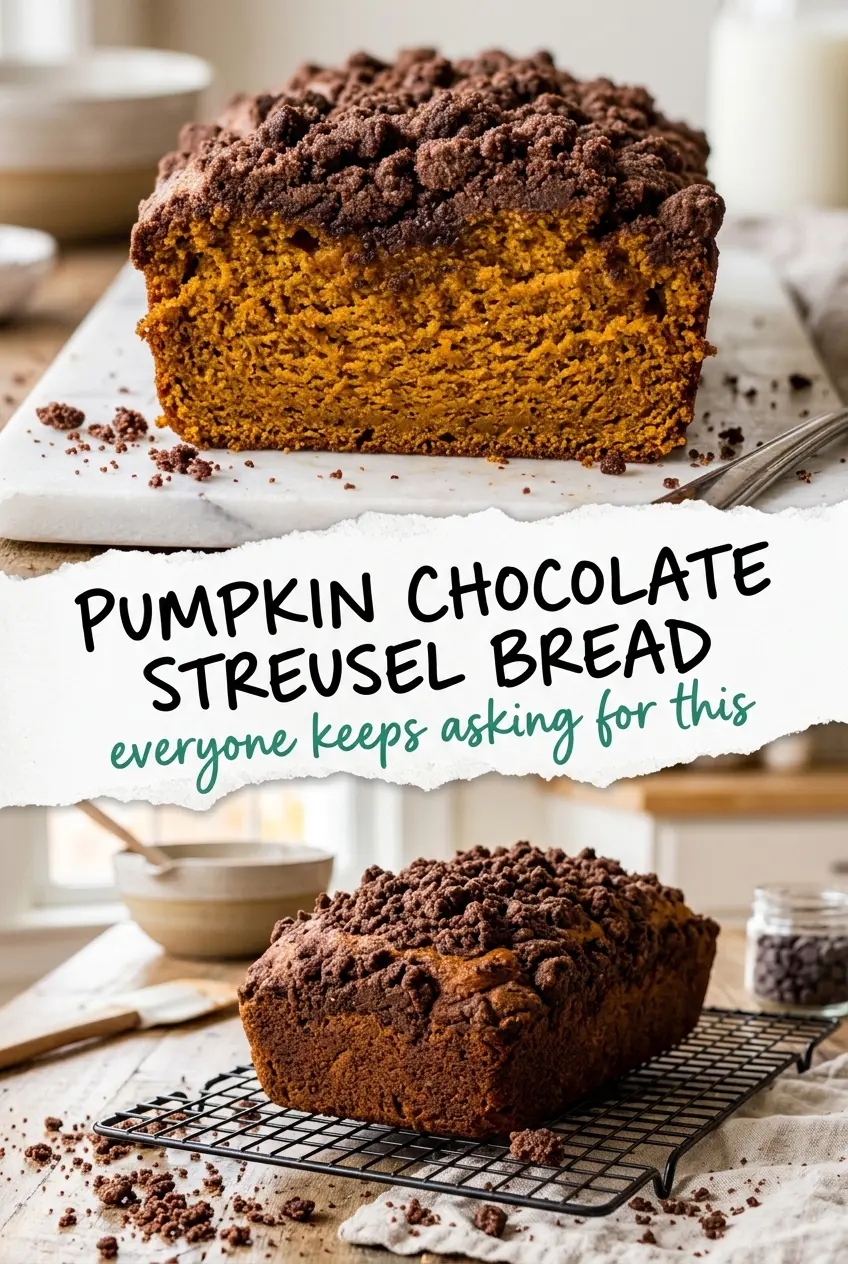
Pumpkin bread gets even better when the top bakes into a dark, craggy chocolate streusel. The loaf underneath stays soft and moist, with that familiar pumpkin spice warmth, but the topping changes the whole experience: you get a tender crumb below and a slightly crisp, cocoa-rich layer on top that breaks apart under the knife. That contrast is what keeps people coming back for another slice.
The batter here is straightforward, but the details matter. Pumpkin puree brings moisture and body, while the oil keeps the crumb soft for days instead of drying out the way butter-heavy quick breads sometimes do. The streusel stays crumbly because the butter goes in cold. If it warms up before baking, you lose those little pebbly bits and the topping turns pasty instead of crisp.
Below, I’ll walk through the one step that keeps the bread from turning gummy, how to keep the streusel from sinking, and the small foil trick that saves the top if it starts browning too fast.
The streusel stayed crumbly and the pumpkin loaf was perfectly moist. I covered it with foil for the last 15 minutes and the top came out just right, not burnt at all.
Love the contrast of moist pumpkin bread and chocolate streusel? Save this loaf for the next time you want a bakery-style quick bread with a crackly top.
The Trick to Keeping the Streusel Crumbly Instead of Muddy
Pumpkin bread batters are naturally wet, which is exactly why streusel can disappear into the top if you rush the assembly. The fix is simple: get the batter into the pan first, then scatter the streusel over the top in loose handfuls instead of pressing it down. You want the crumbs sitting on the surface so they dry and crisp before the bread fully sets beneath them.
The other thing that matters here is the balance between moisture and structure. Too much flour in the batter and the loaf turns dense. Too little and the center can sink under the weight of the topping. This version stays right in the sweet spot because the pumpkin puree carries enough moisture to keep the crumb tender, while the flour and eggs give it just enough backbone to lift cleanly.
What Each Ingredient Is Actually Doing in This Dish
- Pumpkin puree — Use plain pumpkin puree, not pumpkin pie filling. Pie filling already has sugar and spices mixed in, which throws off the balance of the loaf and can make it too sweet. If your puree looks watery, stir it well before measuring so the moisture is evenly distributed.
- Vegetable oil — Oil gives this bread its soft, even crumb and keeps it moist after a day or two. Melted butter can work, but the texture will be a little firmer and less plush. Neutral oil is best here because it lets the pumpkin and spice come through.
- Chocolate streusel — The cocoa powder deepens the topping without making it taste like frosting. Cold butter is non-negotiable; cube it straight from the fridge and work it in until the mixture looks like damp gravel. If the butter starts to smear, pop the bowl in the fridge for a few minutes before finishing.
- Pumpkin pie spice — This does the heavy lifting in the flavor department. If you don’t have it, use cinnamon with a little ginger and nutmeg. Fresh spice matters more here than in a frosted cake because the loaf itself is so simple.
Building the Batter Before the Topping Steals the Show
Mix the Dry Ingredients First
Whisk the flour, baking soda, pumpkin pie spice, and salt together until the color looks even and there are no clumps hiding in the corners. Baking soda needs to be distributed well or you’ll get little pockets of bitterness in the finished loaf. This also keeps the spice from settling in one spot while you mix the wet ingredients.
Bring the Wet Ingredients Together
Beat the pumpkin puree, oil, eggs, and sugar until the mixture looks smooth and glossy. You’re not trying to whip air into it; you just want the sugar dissolved enough that it blends cleanly with the dry ingredients. If the mixture looks grainy at this stage, keep stirring for another minute before moving on.
Fold the Batter Without Overworking It
Add the dry ingredients to the wet mixture and stir just until you stop seeing dry streaks. The batter will be thick and spoonable. If you keep mixing past that point, the loaf can turn tight and bready instead of soft. Scrape the bottom of the bowl once so you don’t leave a hidden pocket of flour behind.
Top and Bake Until the Center Sets
Pour the batter into the prepared loaf pan, then crumble the streusel evenly over the surface. Bake at 350°F until a toothpick inserted in the center comes out clean or with a few moist crumbs, usually 55 to 60 minutes. If the topping darkens too quickly before the center is done, lay foil loosely over the loaf for the final stretch so the top doesn’t scorch.
Three Ways to Work This Loaf Into Your Kitchen
Dairy-Free Streusel That Still Crumbles
Use a plant-based butter block in place of the cold butter for the topping. The texture stays close to the original as long as the substitute is firm and cold, not tub-style spread. The streusel may brown a little faster, so keep an eye on the loaf near the end of baking.
Gluten-Free Version With a Little More Tenderness
Swap the all-purpose flour for a 1:1 gluten-free baking blend in both the loaf and the streusel. The bread will still hold together, but it may slice best after cooling completely because gluten-free quick breads are softer while warm. Letting it rest gives the crumb time to set.
Extra-Chocolate Topping for a Sweeter Finish
Add a tablespoon or two of mini chocolate chips to the streusel if you want pockets of melted chocolate on top. It changes the topping from crumbly and cocoa-forward to a little richer and softer in spots. Keep the additions light, or the streusel gets heavy and can sink into the loaf.
Storage and Reheating
- Refrigerator: Store covered for up to 5 days. The crumb stays moist, though the streusel softens a bit after the first day.
- Freezer: This freezes well. Wrap slices tightly in plastic and foil, then freeze for up to 3 months. Thaw at room temperature before reheating.
- Reheating: Warm slices in a 300°F oven for about 8 minutes or toast gently in a dry skillet. The biggest mistake is microwaving too long, which makes the crumb rubbery and the streusel lose its texture.
Answers to the Questions Worth Asking
Pumpkin Bread With Chocolate Streusel
Ingredients
Equipment
Method
- Preheat the oven to 350°F and grease a loaf pan so the pumpkin bread releases cleanly.
- Whisk all-purpose flour, baking soda, pumpkin pie spice, and salt together until evenly combined.
- Beat pumpkin puree, vegetable oil, eggs, and granulated sugar until smooth, then fold into the dry ingredients until just combined.
- Pour the batter into the greased loaf pan and spread into an even layer.
- Mix flour, cocoa powder, brown sugar, and cold butter, cubed, until the mixture forms crumbly streusel.
- Sprinkle the streusel evenly over the batter, covering as much surface as possible.
- Bake for 55-60 minutes at 350°F until a toothpick inserted in the center comes out clean.