
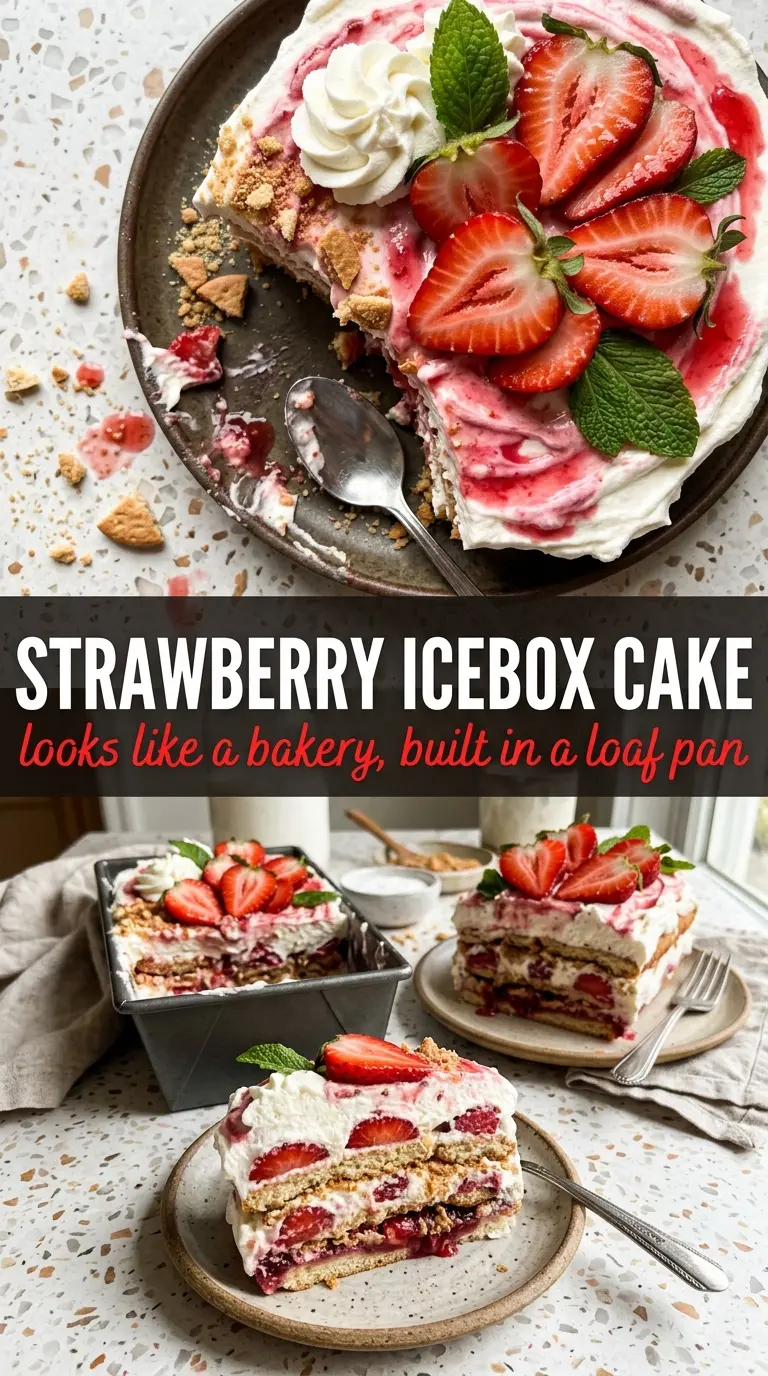
Cold, creamy layers of strawberry shortcake icebox cake turn an everyday loaf pan into a dessert that slices like a bakery torte. The wafers soften overnight, the mascarpone cream stays rich and light at the same time, and the macerated strawberries bleed just enough juice into the layers to make each bite taste like peak berry season without turning soggy. When it comes out of the pan in one clean block, it looks polished enough for a party, but the work behind it is simple and calm.
What makes this version hold together is the balance between moisture and structure. The strawberries need that sugar and vanilla time to draw out syrup, but not so much that the fruit collapses into mush before it ever hits the pan. The mascarpone cream is whipped stiff enough to support the layers, and the wafers do the heavy lifting once they’ve had time to absorb just enough cream and juice to soften into a cake-like texture.
The part people usually rush is the chill time, and that’s the one part that matters most. Below, I’ve laid out the layering order, the best way to unmold it cleanly, and the small texture cues that tell you it’s ready to slice.
The overnight chill was the whole trick — the wafers softened into neat cake-like layers and the strawberry juice stayed in the dessert instead of running everywhere. Mine unmolded cleanly and sliced into perfect squares.
Save this strawberry shortcake icebox cake for the make-ahead dessert that unmolds into clean, bakery-style layers.
The Overnight Chill Is What Turns Wafers Into Cake
People often stop too soon with icebox desserts and end up with layers that are either too stiff or too loose. The trick here is letting the loaf pan do the shaping while time does the softening. The wafers need a full overnight rest to absorb moisture from both the cream and the berries, which is what creates that clean sliceable texture instead of a stack of separate components.
If you cut this early, the wafers stay crunchy in the center and the dessert falls apart the second you lift a slice. If you let it chill long enough, the layers knit together without losing their definition. That’s when the edges hold, the top stays neat, and the strawberries taste like part of the whole dessert instead of just something spooned on top.
What Each Ingredient Is Doing in This Dessert
- Fresh strawberries — These bring the flavor and the color, but the maceration step matters just as much as the fruit itself. Sugar pulls out juice, and vanilla rounds it out so the berries taste fuller and less sharp. If your strawberries are a little pale, let them sit a bit longer before layering so you get more syrup.
- Vanilla wafer cookies — These are the structure. They’re sturdier than sponge cake at the start, which means they can handle the fruit juices and cream without turning to mush right away. I wouldn’t swap in soft cookies here; they collapse too fast. If you need a change, ladyfingers work, but the finished texture will be lighter and less distinctly shortcake-like.
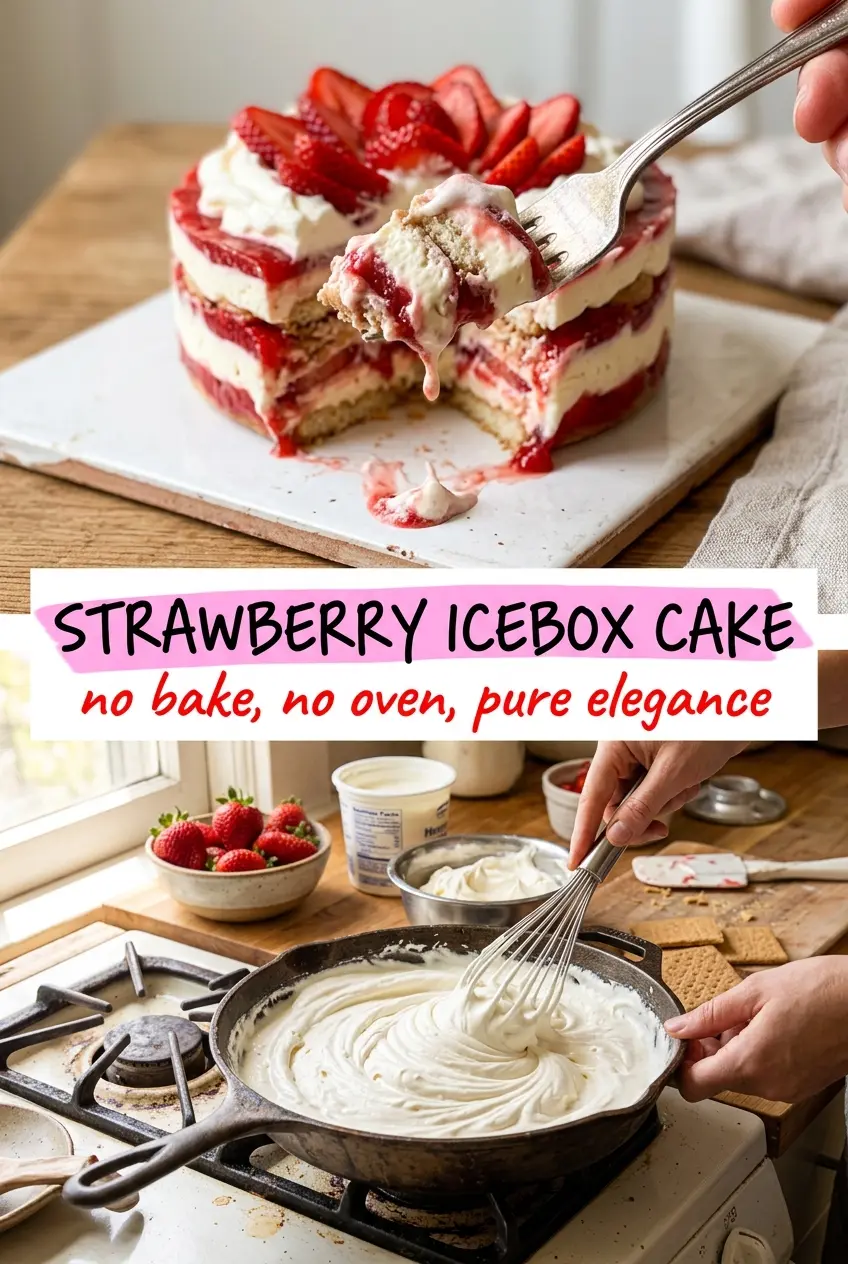
- Mascarpone, heavy cream, powdered sugar, and vanilla — Mascarpone gives the filling body and a faint tang that keeps it from tasting flat. Heavy cream adds loft, and powdered sugar dissolves cleanly so the cream stays smooth. Whip it to stiff peaks; if it’s underwhipped, the layers slump when you unmold the cake.
- Strawberry jam — This is optional, but a spoonful gives the cream a pink tint and a little extra strawberry note. Use it sparingly or it can loosen the filling. Stir it in only after the cream is whipped if you want a soft marbled look instead of a fully pink layer.
Building the Layers So the Cake Comes Out Clean
Line the Pan Before Anything Else
Use a 9×5 loaf pan and line it with plastic wrap, leaving plenty of overhang on all sides. That overhang is your handle later, and without it the cake can cling stubbornly to the pan. Press the wrap into the corners so the finished loaf holds its shape instead of bowing at the edges.
Spread the Cream First
Start with a thin layer of mascarpone cream, then add wafers, then strawberries, and repeat until you’ve built three full rounds. The first cream layer keeps the wafers from sticking to the plastic and helps the base release in one piece. Keep the layers even and don’t overfill any one layer with berries, or the juices will pool and make the center unstable.
Chill Until the Wafers Go Soft
Cover the top with the plastic overhang and refrigerate for at least 6 hours, though overnight gives the best texture. When it’s ready, the top should feel set and the loaf should hold together when you lift it by the wrap. If the center still feels loose, it needs more time; cutting early is the fastest way to get a messy slice.
Unmold With Confidence
Invert the cake onto a platter and peel back the plastic slowly. If you rush this part, the top can drag and tear the cream. Use a sharp knife for slicing and wipe it clean between cuts so the layers stay crisp and pretty.
How to Adapt This for Different Needs
Gluten-Free Version
Swap the vanilla wafers for a gluten-free crisp cookie that holds its shape when softened. You want something sturdy and dry, not a soft gluten-free sandwich cookie, or the layers will turn pasty instead of cake-like.
Dairy-Free Swap
Use a plant-based whipping cream and a dairy-free cream cheese-style spread in place of mascarpone. The texture won’t be quite as plush, but it will still slice cleanly if you whip the cream to stiff peaks and chill it long enough.
Extra Berry Flavor
Add the strawberry jam to the cream if you want a stronger berry note and a pinker middle layer. It’s a small change, but it makes the dessert look a little more festive without changing the structure.
Storage and Reheating
- Refrigerator: Store covered for up to 2 days. After that, the wafers keep softening and the slices lose their clean edges.
- Freezer: It freezes poorly once assembled because the cream texture changes after thawing. If you need to work ahead, freeze the strawberries separately, then assemble fresh.
- Reheating: No reheating needed. Keep it cold and slice it straight from the fridge; letting it sit too long on the counter softens the layers and makes the unmolded cake slump.
Questions I Get Asked About This Recipe
Strawberry Shortcake
Ingredients
Equipment
Method
- Line a 9x5 loaf pan with plastic wrap, leaving overhang on all sides so you can lift the cake out later.
- Macerate the sliced strawberries with sugar and vanilla, then let sit until syrupy, about 20 minutes (cool and fruity, not runny).
- If using strawberry jam, stir 1 tbsp jam into a small portion of mascarpone cream to make a lightly pink-tinted layer.
- Spread a thin even layer of mascarpone cream over the bottom of the plastic-lined pan.
- Cover the cream with a single layer of vanilla wafer cookies so the base is fully packed and flat.
- Spoon the macerated strawberries over the cookies, spreading to reach the edges without soaking through.
- Repeat the layering—cream → wafers → strawberries—until you have built 3 complete layers, ending with cream on top.
- Fold the plastic wrap over the top to seal, then refrigerate overnight for at least 6 hours until sliceable and firm (exact texture: cookies set like cake).
- Unwrap and invert the loaf pan onto a platter, then lift off the pan and remove the plastic wrap cleanly.
- Decorate the top with fresh strawberry halves and a cream rosette for a neat bakery-style finish.
- Slice cleanly with a sharp knife, wiping or rinsing the blade between cuts for crisp layers.