
Butternut squash risotto turns creamy, golden, and deeply savory without standing over the stove for half an hour stirring a pot. The rice comes out tender with just enough bite, the roasted squash melts into the grains, and the Parmesan gives the whole dish that rich finish people keep going back for. Baking the risotto instead of babysitting it on the burner gives you the same luxurious texture with a lot less risk of scorching.
The key is building flavor before the rice goes into the oven. Roasting the squash concentrates its sweetness, and warming the broth keeps the rice cooking evenly once it hits the oven. A little wine adds brightness, sage pulls the squash forward, and butter at the end rounds everything out without making it heavy.
Below, I’ve included the details that matter most: how to keep the risotto creamy, what to do if you only have vegetable broth, and the small finish that keeps the texture silky instead of gluey.
The squash stayed in soft little pockets and the rice was creamy without getting mushy. I loved that the oven did the work and the Parmesan at the end made it taste like I’d stirred it forever.
Creamy baked butternut squash risotto with roasted squash and Parmesan belongs on your dinner rotation.
The Reason Baked Risotto Stays Creamy Without Constant Stirring
Risotto usually loses people at the stove because the moment you walk away, the bottom starts catching or the rice cooks unevenly. Baking changes the game. Once the onion and garlic are soft, the rice is toasted, and the wine and broth go in, the oven holds the heat steady enough to cook the Arborio grains evenly without you having to nurse the pot. That means less evaporation drama and a texture that turns creamy instead of pasty.
The part that matters most is the liquid temperature. Warm broth keeps the cooking momentum going. Cold broth drags the process out and can leave the center of the grains chalky while the outside turns soft. The other thing to watch is the rice itself: toast it just until the edges look a little translucent and you smell a nutty aroma. That step gives the finished dish better structure, so it stays loose and spoonable instead of turning into a thick mound.
What Each Ingredient Is Actually Doing in This Dish
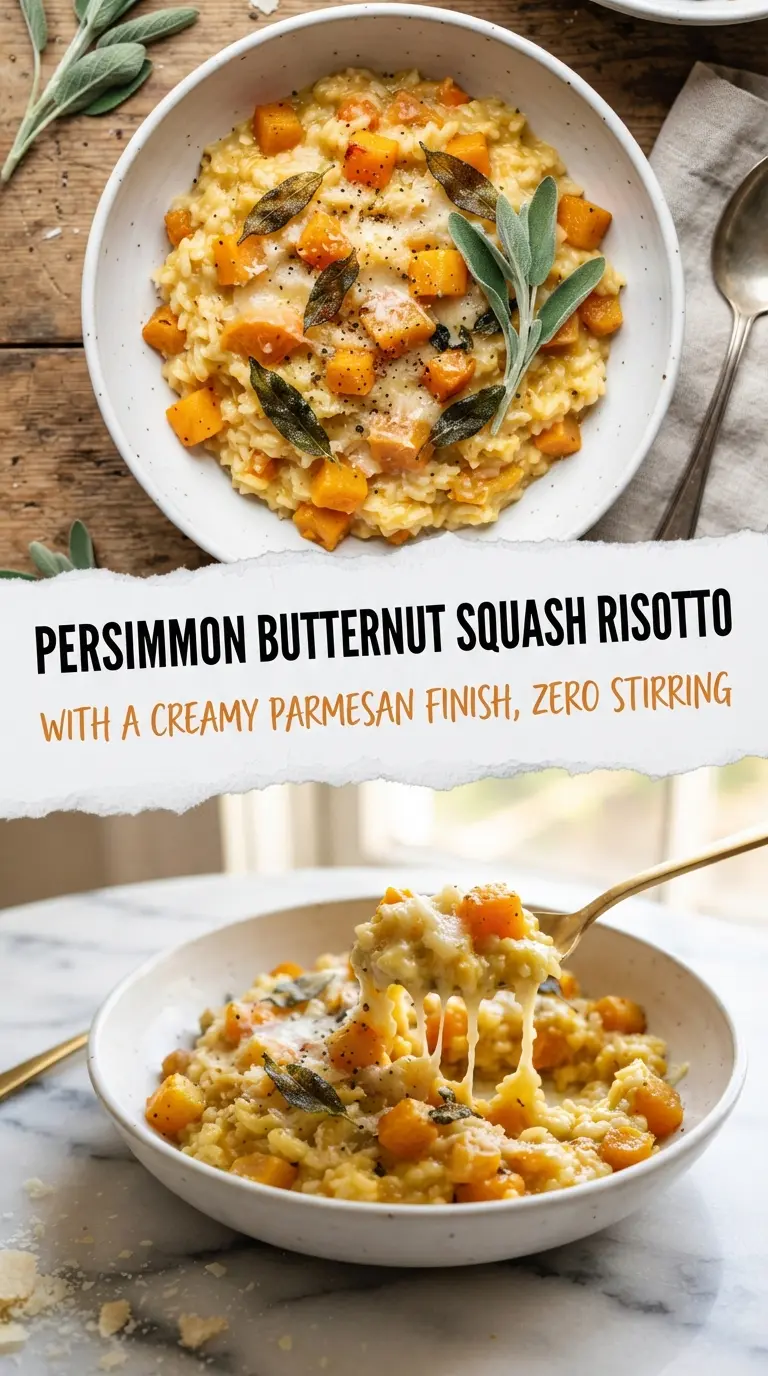
- Butternut squash — Roasting the squash first concentrates its sweetness and gives you browned edges that taste deeper than steamed squash ever will. If you skip the roast, the risotto still works, but you lose that caramelized flavor and the squash tends to disappear into the rice.
- Arborio rice — This is the ingredient that makes risotto behave like risotto. Arborio releases starch as it cooks, which is what gives the dish its creaminess without added flour or cream. Don’t swap in long-grain rice; it won’t thicken the same way.
- Warm chicken broth — Warm broth helps the rice cook evenly in the oven and keeps the grains from tightening up. Vegetable broth works if you want a vegetarian version, but choose one with good body or the dish can taste flat.
- White wine — The wine adds acidity that keeps the finished risotto from tasting one-note. If you don’t want to use wine, add a splash of broth with a small squeeze of lemon at the end, but the flavor won’t be quite as layered.
- Parmesan and butter — These are the finish, not background noise. Parmesan gives the risotto its savory depth, while butter smooths out the texture and makes the grains look glossy. Add both off the heat so the cheese melts into the rice instead of clumping.
The Part of the Recipe That Decides Whether It Stays Silky
Roasting the Squash First
Toss the cubed squash with olive oil and roast it at 400°F until the edges are browned and the pieces are tender enough to pierce with a fork. You want caramelization, not just softness. If the squash is pale and watery, it will fade into the risotto instead of standing out in little sweet pockets. Set it aside while you build the rice so it keeps its shape.
Toasting the Rice in the Pot
Sauté the onion and garlic until they’re soft and fragrant, then add the Arborio rice and stir for a minute or two. The grains should look glossy and smell a little nutty. This step helps the rice hold its structure in the oven, so don’t rush it or let the garlic brown. Bitter garlic will come through in the final dish.
Baking Until the Liquid Is Just Right
After the wine, broth, and sage go in, cover the pot and bake until the rice is tender but still has a little bite in the center. If the risotto looks dry when you uncover it, the pot probably wasn’t sealed well or the liquid measured short. A proper baked risotto should look loose, not soupy, with most of the broth absorbed and a little creamy sauce clinging to the grains.
Finishing Off the Heat
Stir in the roasted squash, Parmesan, and butter after the pot comes out of the oven, then let it rest for five minutes. That short rest lets the sauce thicken into the rice instead of sliding to the bottom of the bowl. If you add the cheese over heat, it can turn grainy. Off the heat, it melts smoothly and gives you that soft, glossy finish.
How to Adapt This for a Few Different Kitchens
Make It Vegetarian
Use vegetable broth instead of chicken broth. The texture stays the same, but the flavor will lean a little lighter and less savory, so choose a broth with good depth. If your vegetable broth tastes thin, add an extra spoonful of Parmesan at the end.
Dairy-Free Finish
Swap the butter for olive oil and leave out the Parmesan, or use a dairy-free Parmesan-style substitute if you like. You’ll lose some of the classic risotto richness, so add a pinch more salt and a little extra roasted squash to keep the dish satisfying.
Skip the Wine
Replace the white wine with the same amount of warm broth and finish with a small squeeze of lemon. The risotto will still be creamy, but it won’t have quite as much brightness, so the acid at the end matters.
Storage and Reheating
- Refrigerator: Store leftovers for up to 3 days. The risotto firms up as it chills, which is normal.
- Freezer: It freezes, but the texture gets softer after thawing. Pack it in airtight containers and freeze for up to 1 month if you don’t mind a less silky finish.
- Reheating: Warm it gently on the stove with a splash of broth or water, stirring until it loosens again. Microwaving it dry is the fastest way to get a dense, sticky bowl.
Answers to the Questions Worth Asking
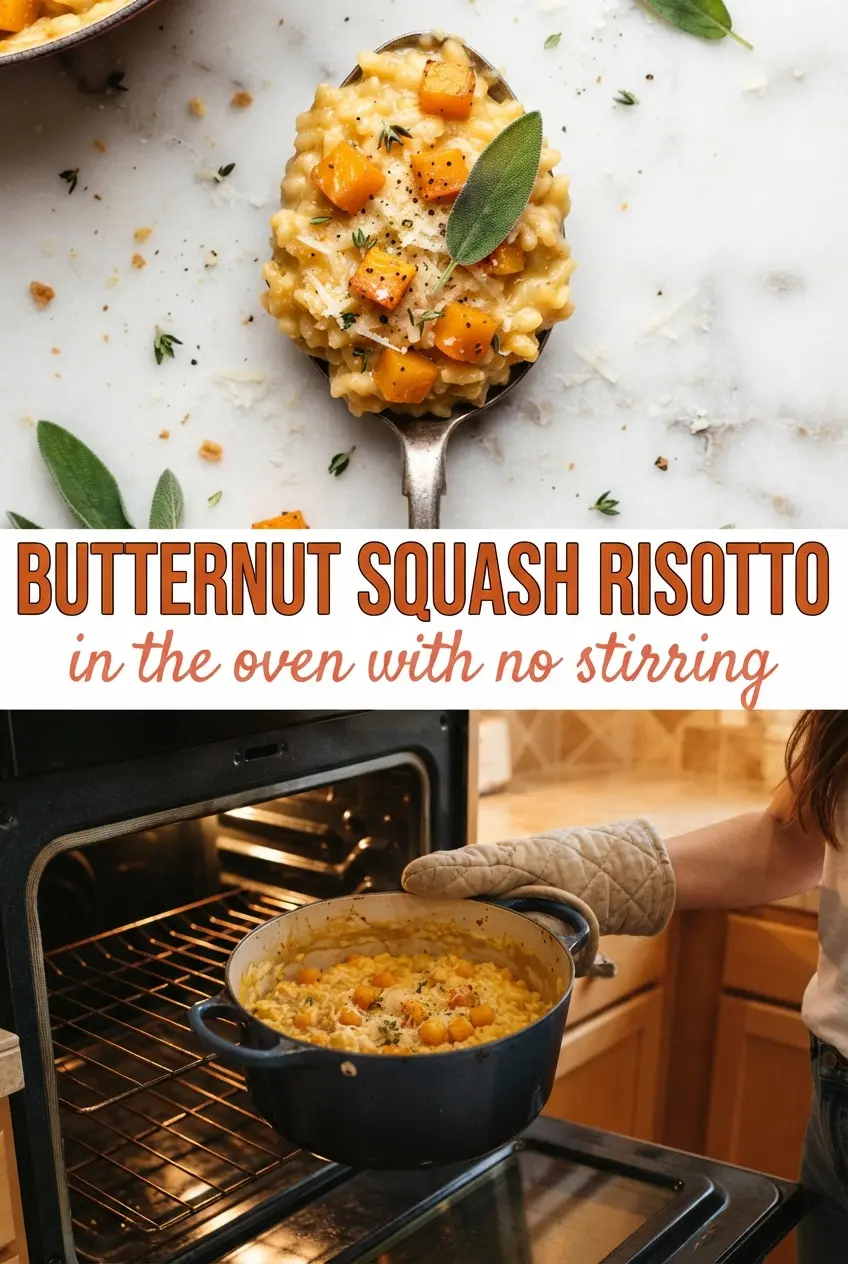
Butternut Squash Risotto
Ingredients
Equipment
Method
- Heat the oven to 400°F and roast the cubed butternut squash tossed with olive oil for 20 minutes, until lightly golden at the edges (visual cue: pieces look softened and browned).
- In an oven-safe Dutch oven, sauté the diced yellow onion and minced garlic until softened and fragrant (about 3–4 minutes), then toast the Arborio rice in the same pot (visual cue: rice grains look slightly opaque).
- Add the white wine, stir to combine for 30 seconds, then add the warm chicken broth and dried sage.
- Cover the Dutch oven and bake at 375°F for 30 minutes, keeping the top covered so steam cooks the rice evenly (visual cue: liquid is absorbed and the rice looks creamy).
- Stir in the roasted squash, grated Parmesan, and butter until melted and glossy (visual cue: the risotto looks thick and creamy, not dry).
- Rest the risotto for 5 minutes before serving to thicken slightly and settle the texture (visual cue: it becomes spoonable and cohesive).